Blog
All Blog Posts | Next Post | Previous Post

 Extend TMS WEB Core with JS Libraries with Andrew:
Image Editing
Wednesday, August 3, 2022

In our last post, we covered the panning and zooming of images or other content within TMS WEB Core projects using one of the many JavaScript libraries available for this purpose. But what if you want to actually make changes to an image? Crop it, rotate it, and maybe add a filter or an annotation of some kind. While there are many JavaScript libraries around for handling the viewing aspects of images, there are not nearly as many for handling the editing aspects of images. Well, certainly not as many in the free/open-source realm. But there are a few. Today we're going to take a look at one such JavaScript library, the Scaleflex Filerobot Image Editor, or FIE for short (also on GitHub). It bills itself as "the easiest way to integrate an on-the-shelf and easy-to-use image editor in your web application, for free." And while that may very well be true, there's still a bit of ground to cover to get this up and running productively in our projects.
Motivation.
There are plenty of situations where it might be helpful to edit images generally. Depending on the type of editing or where the images are coming from, this can sometimes be entirely painless or unimaginably frustrating. And there are just as many tools around for editing images if you know where to look. Any mobile device that can take photos, for example, will very likely have tools that allow cropping, rotating, or filtering images in its own photo library.
Likewise, there are many online websites where you can upload a photo and make various adjustments, with varying degrees of complexity (and potentially cost). Even the venerable Adobe Photoshop is now available as a web application, provided you're using Chrome (at the moment). And Adobe has even indicated that it will be free (naturally, with limited features).
However, there are situations where being able to edit an image, right then and there in your application, is beneficial. Perhaps you want a user to upload an image of themselves, and you want them to be able to adjust the image to fit your particular project's dimension requirements. Or perhaps the images themselves are the main item of value, where using a public cloud service is not an option. Or perhaps there are just a handful of editing features that you want to make available to your users, and you want to make the user experience as smooth as possible. Whatever the reason, we've got an image editor here that can potentially help out.
Getting Started.
As with most of the control-type JavaScript libraries that we've looked at thus far, getting started is as easy as adding a reference to the library in our Project.html file (or via the Manage JavaScript Libraries feature in the Delphi IDE) and then pointing it at a TWebHTMLDiv and letting it do its thing. Not much different this time out, either. The documentation does recommend its own CDN link and also that the Roboto Google Font be available as it is the default font used in their default theme. So let's do that. Let's also use the CDN version of Bootstrap while we're at it. Here's what needs to be added to the Project.html file.
    <script src="https://cdn.jsdelivr.net/npm/bootstrap@latest/dist/js/bootstrap.bundle.min.js" type="text/javascript"></script>
    <link crossorigin="anonymous" href="https://cdn.jsdelivr.net/npm/bootstrap@latest/dist/css/bootstrap.min.css" rel="stylesheet"/>

    <link rel="preconnect" href="https://fonts.googleapis.com">
    <link rel="preconnect" href="https://fonts.gstatic.com" crossorigin>
    <link href="https://fonts.googleapis.com/css2?family=Roboto:wght@400;500&display=swap" rel="stylesheet">

    <script src="https://scaleflex.cloudimg.io/v7/plugins/filerobot-image-editor/latest/filerobot-image-editor.min.js"></script>
The Roboto Google font is what is specified for this library (400 and 500 weights) and that is the default stanza that is provided when selecting these options on the Google Fonts website. The CDN link for the FIE code itself is what is recommended in their documentation. Which then goes on to provide an example block of code. In our case, we're starting with a fresh TMS WEB Core project, using the Bootstrap template. And it has a TWebHTMLDiv on it called divEditor, which is set up as a (rounded!) rectangle that fills the form, minus a 10px boundary.
One of the new TWebCSSClass components is used to provide a background color for this component, but we'll need to change that in just a moment. The sample code needs to be adjusted very slightly to reference the appropriate element (divEditor) and to bypass the 'import' function at the beginning. It looks like this.
unit Unit1;

interface

uses
  System.SysUtils, System.Classes, JS, Web, WEBLib.Graphics, WEBLib.Controls,
  WEBLib.Forms, WEBLib.Dialogs, Vcl.Controls, WEBLib.WebCtrls, WEBLib.CSS,
  Vcl.StdCtrls, WEBLib.StdCtrls;

type
  TForm1 = class(TWebForm)
    divEditor: TWebHTMLDiv;
    WebCSS_FIE_root: TWebCSSClass;
    procedure WebFormCreate(Sender: TObject);
  private
    { Private declarations }
  public
    { Public declarations }
  end;

var
  Form1: TForm1;
  FIE: JSValue;

implementation

{$R *.dfm}

procedure TForm1.WebFormCreate(Sender: TObject);
begin
  asm
    const { TABS, TOOLS } = FilerobotImageEditor;
    const config = {
      source: 'https://scaleflex.airstore.io/demo/stephen-walker-unsplash.jpg',
      onSave: (editedImageObject, designState) =>
        console.log('saved', editedImageObject, designState),
      annotationsCommon: {
        fill: '#ff0000',
      },
      Text: { text: 'Filerobot...' },
      translations: {
        profile: 'Profile',
        coverPhoto: 'Cover photo',
        facebook: 'Facebook',
        socialMedia: 'Social Media',
        fbProfileSize: '180x180px',
        fbCoverPhotoSize: '820x312px',
      },
      Crop: {
        presetsItems: [
          {
            titleKey: 'classicTv',
            descriptionKey: '4:3',
            ratio: 4 / 3,
            // icon: CropClassicTv, // optional, CropClassicTv is a React Function component. Possible (React Function component, string or HTML Element)
          },
          {
            titleKey: 'cinemascope',
            descriptionKey: '21:9',
            ratio: 21 / 9,
            // icon: CropCinemaScope, // optional, CropCinemaScope is a React Function component.  Possible (React Function component, string or HTML Element)
          },
        ],
        presetsFolders: [
          {
            titleKey: 'socialMedia', // will be translated into Social Media as backend contains this translation key
            // icon: Social, // optional, Social is a React Function component. Possible (React Function component, string or HTML Element)
            groups: [
              {
                titleKey: 'facebook',
                items: [
                  {
                    titleKey: 'profile',
                    width: 180,
                    height: 180,
                    descriptionKey: 'fbProfileSize',
                  },
                  {
                    titleKey: 'coverPhoto',
                    width: 820,
                    height: 312,
                    descriptionKey: 'fbCoverPhotoSize',
                  },
                ],
              },
            ],
          },
        ],
      },
      tabsIds: [TABS.ADJUST, TABS.ANNOTATE, TABS.WATERMARK], // or ['Adjust', 'Annotate', 'Watermark']
      defaultTabId: TABS.ANNOTATE, // or 'Annotate'
      defaultToolId: TOOLS.TEXT, // or 'Text'
    };

    // Assuming we have a div with id="editor_container"
    this.FIE = new FilerobotImageEditor(
      document.querySelector('#divEditor'),
      config,
    );

    this.FIE.render({
      onClose: (closingReason) => {
        console.log('Closing reason', closingReason);
        filerobotImageEditor.terminate();
      },
    });
  end;
end;

end.
That's quite a lot of code, relatively speaking, given that most of the JavaScript libraries have had typically only a handful of lines of code to get started. There's a lot going on in there, but we'll get to that in due course. For now, though, this gets us up and running with an editor that even includes a default image to get us started.
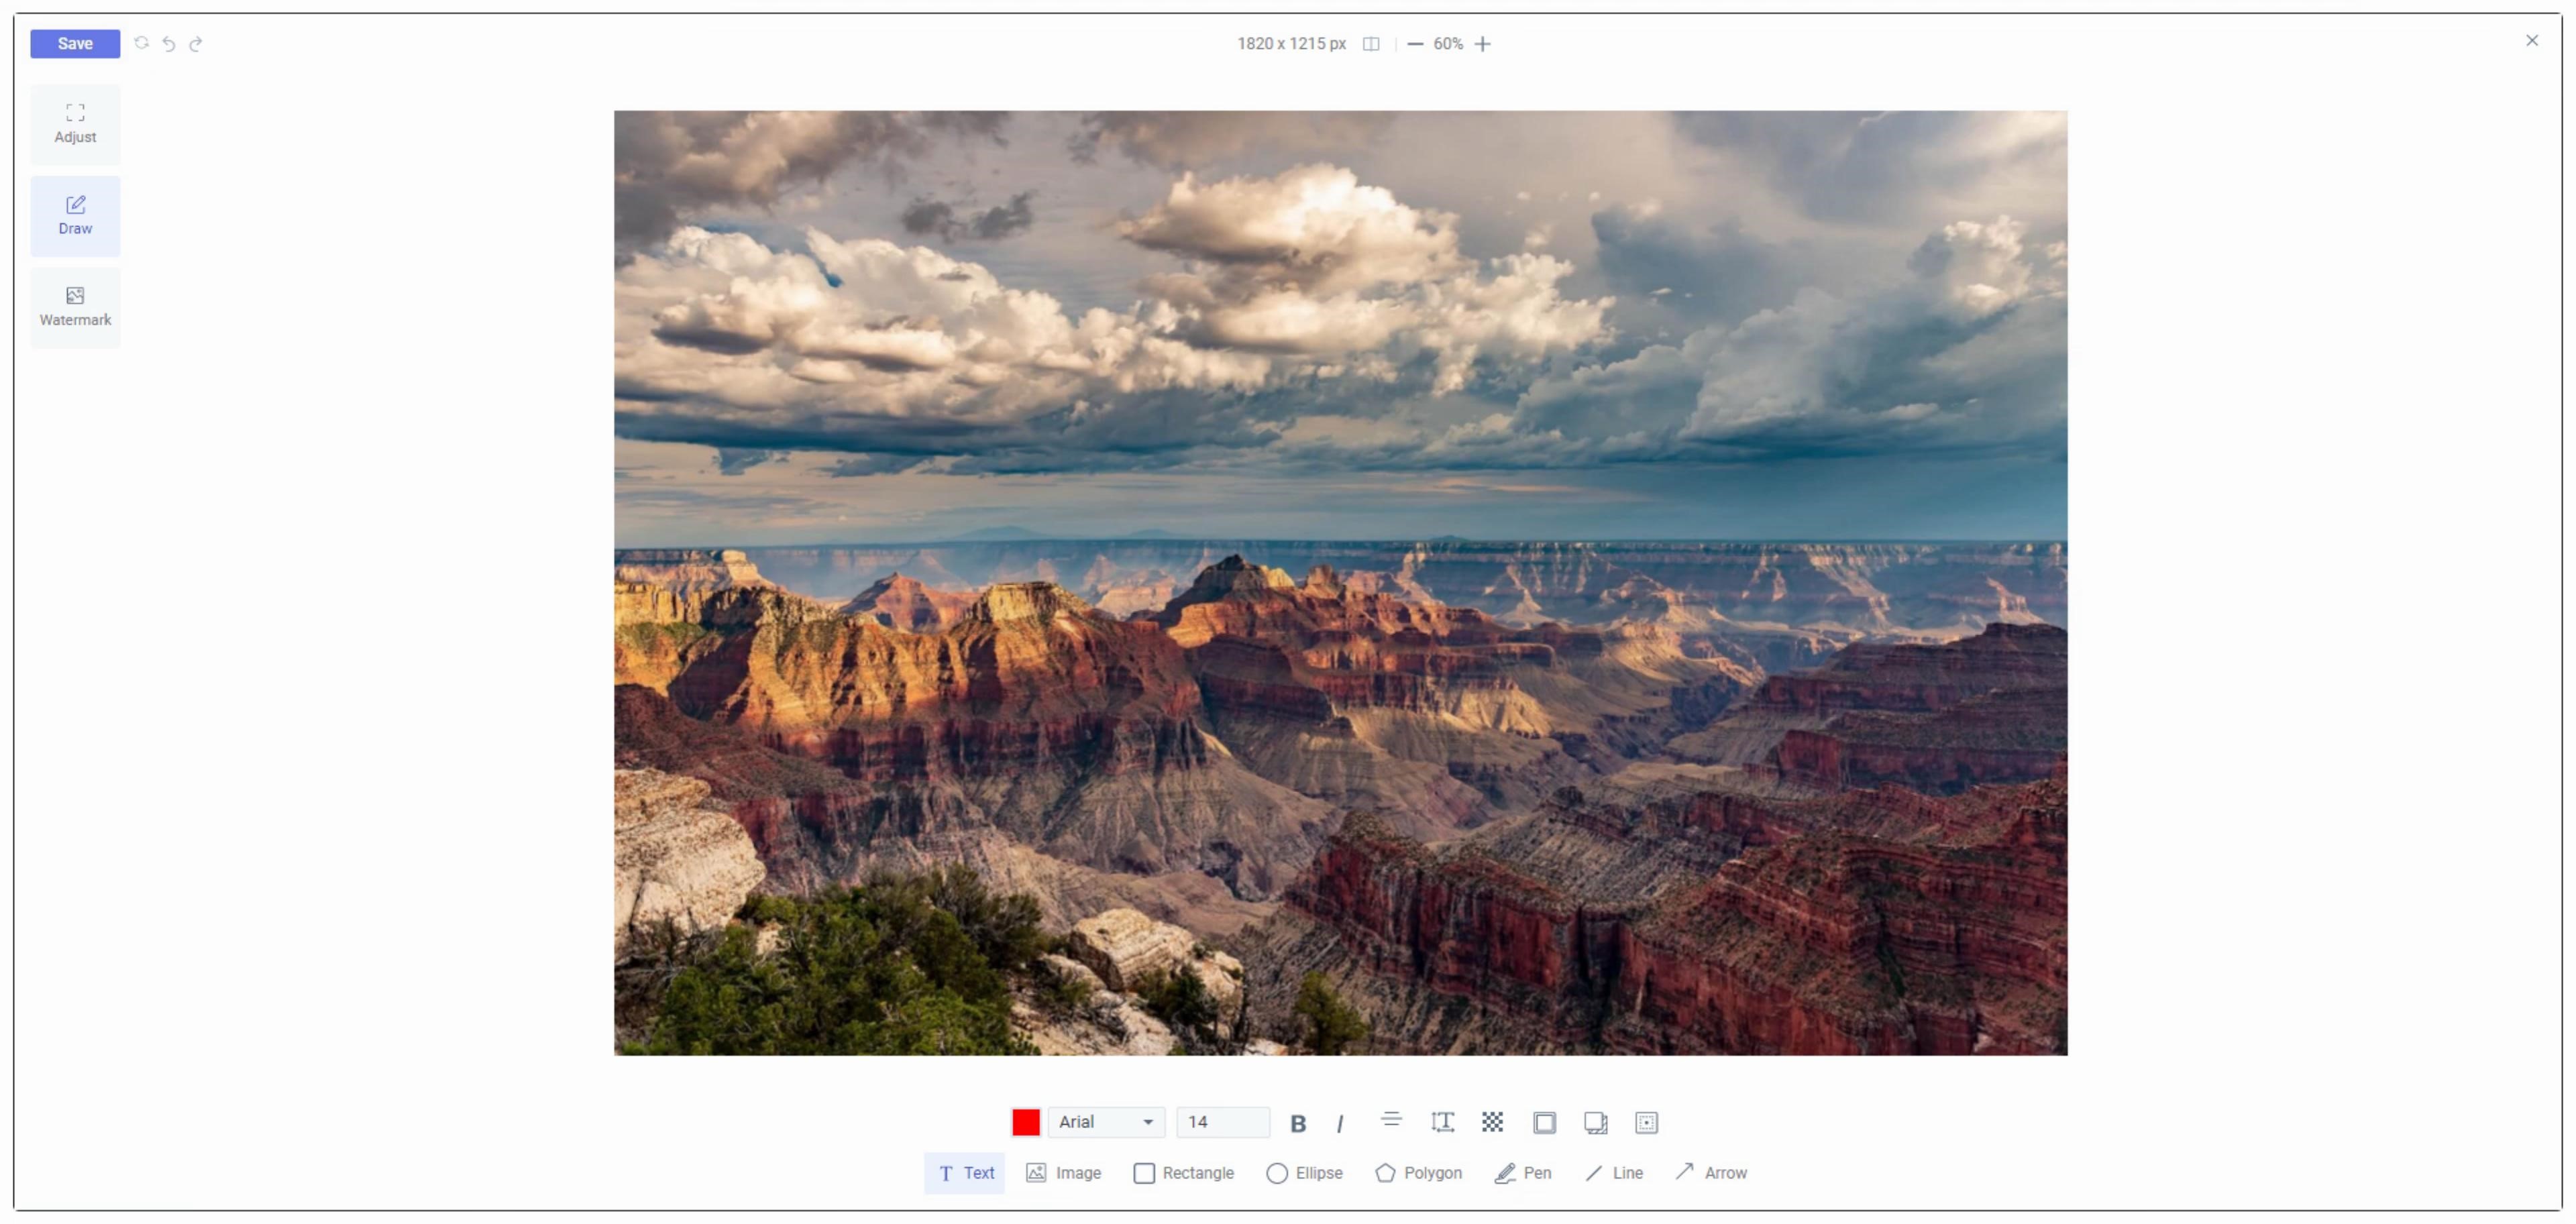
FIE Up and Running.
Baby Steps.
If you've been reading my blog posts for any time at all, you'll know that I'm a fan of rounded corners. Here, not only are the corners not rounded, they're missing entirely! Also, the background of divEditor that we set with the new TWebCSSClass component has also been obscured by the FIE control. Minor in the grand scheme of things, but the first of what are likely to be many little 'workarounds' or 'overrides' to get this JavaScript library to conform to whatever our own style choices happen to be. Most of the JavaScript libraries we've covered are a little more accommodating. Many of them because that is their purpose (like Bootstrap), so not surprising. In this instance, though, we'll have to use a bit of a bigger stick to get our way a little more often than perhaps we're accustomed to (or that we'd prefer, all things considered).
To start with, the majority of the UI for FIE is handled with straight-up HTML and CSS, so we can make our wishes felt by simply overriding what is there. They tend to use unfriendly class names, however, so it can be a bit tricky at times to get things in place.
To get the rounded corners to be rounded, we can add the
"overflow-hidden" Bootstrap class to the divEditor ElementClassName property. This already contained the classes
to draw the border, using "rounded border border-secondary" to accomplish that. The background color we had set
with the TWebCSSClass didn't take, though. So let's change the class to 'FIE_root' instead. We also have to
be a bit sneaky to get around CSS specificity rules, and as we don't have an "!important" property in
TWebCSSClass, we can instead set the CSSClassName property to "FIE_root, div.FIE_root" which gets us our desired
effect.
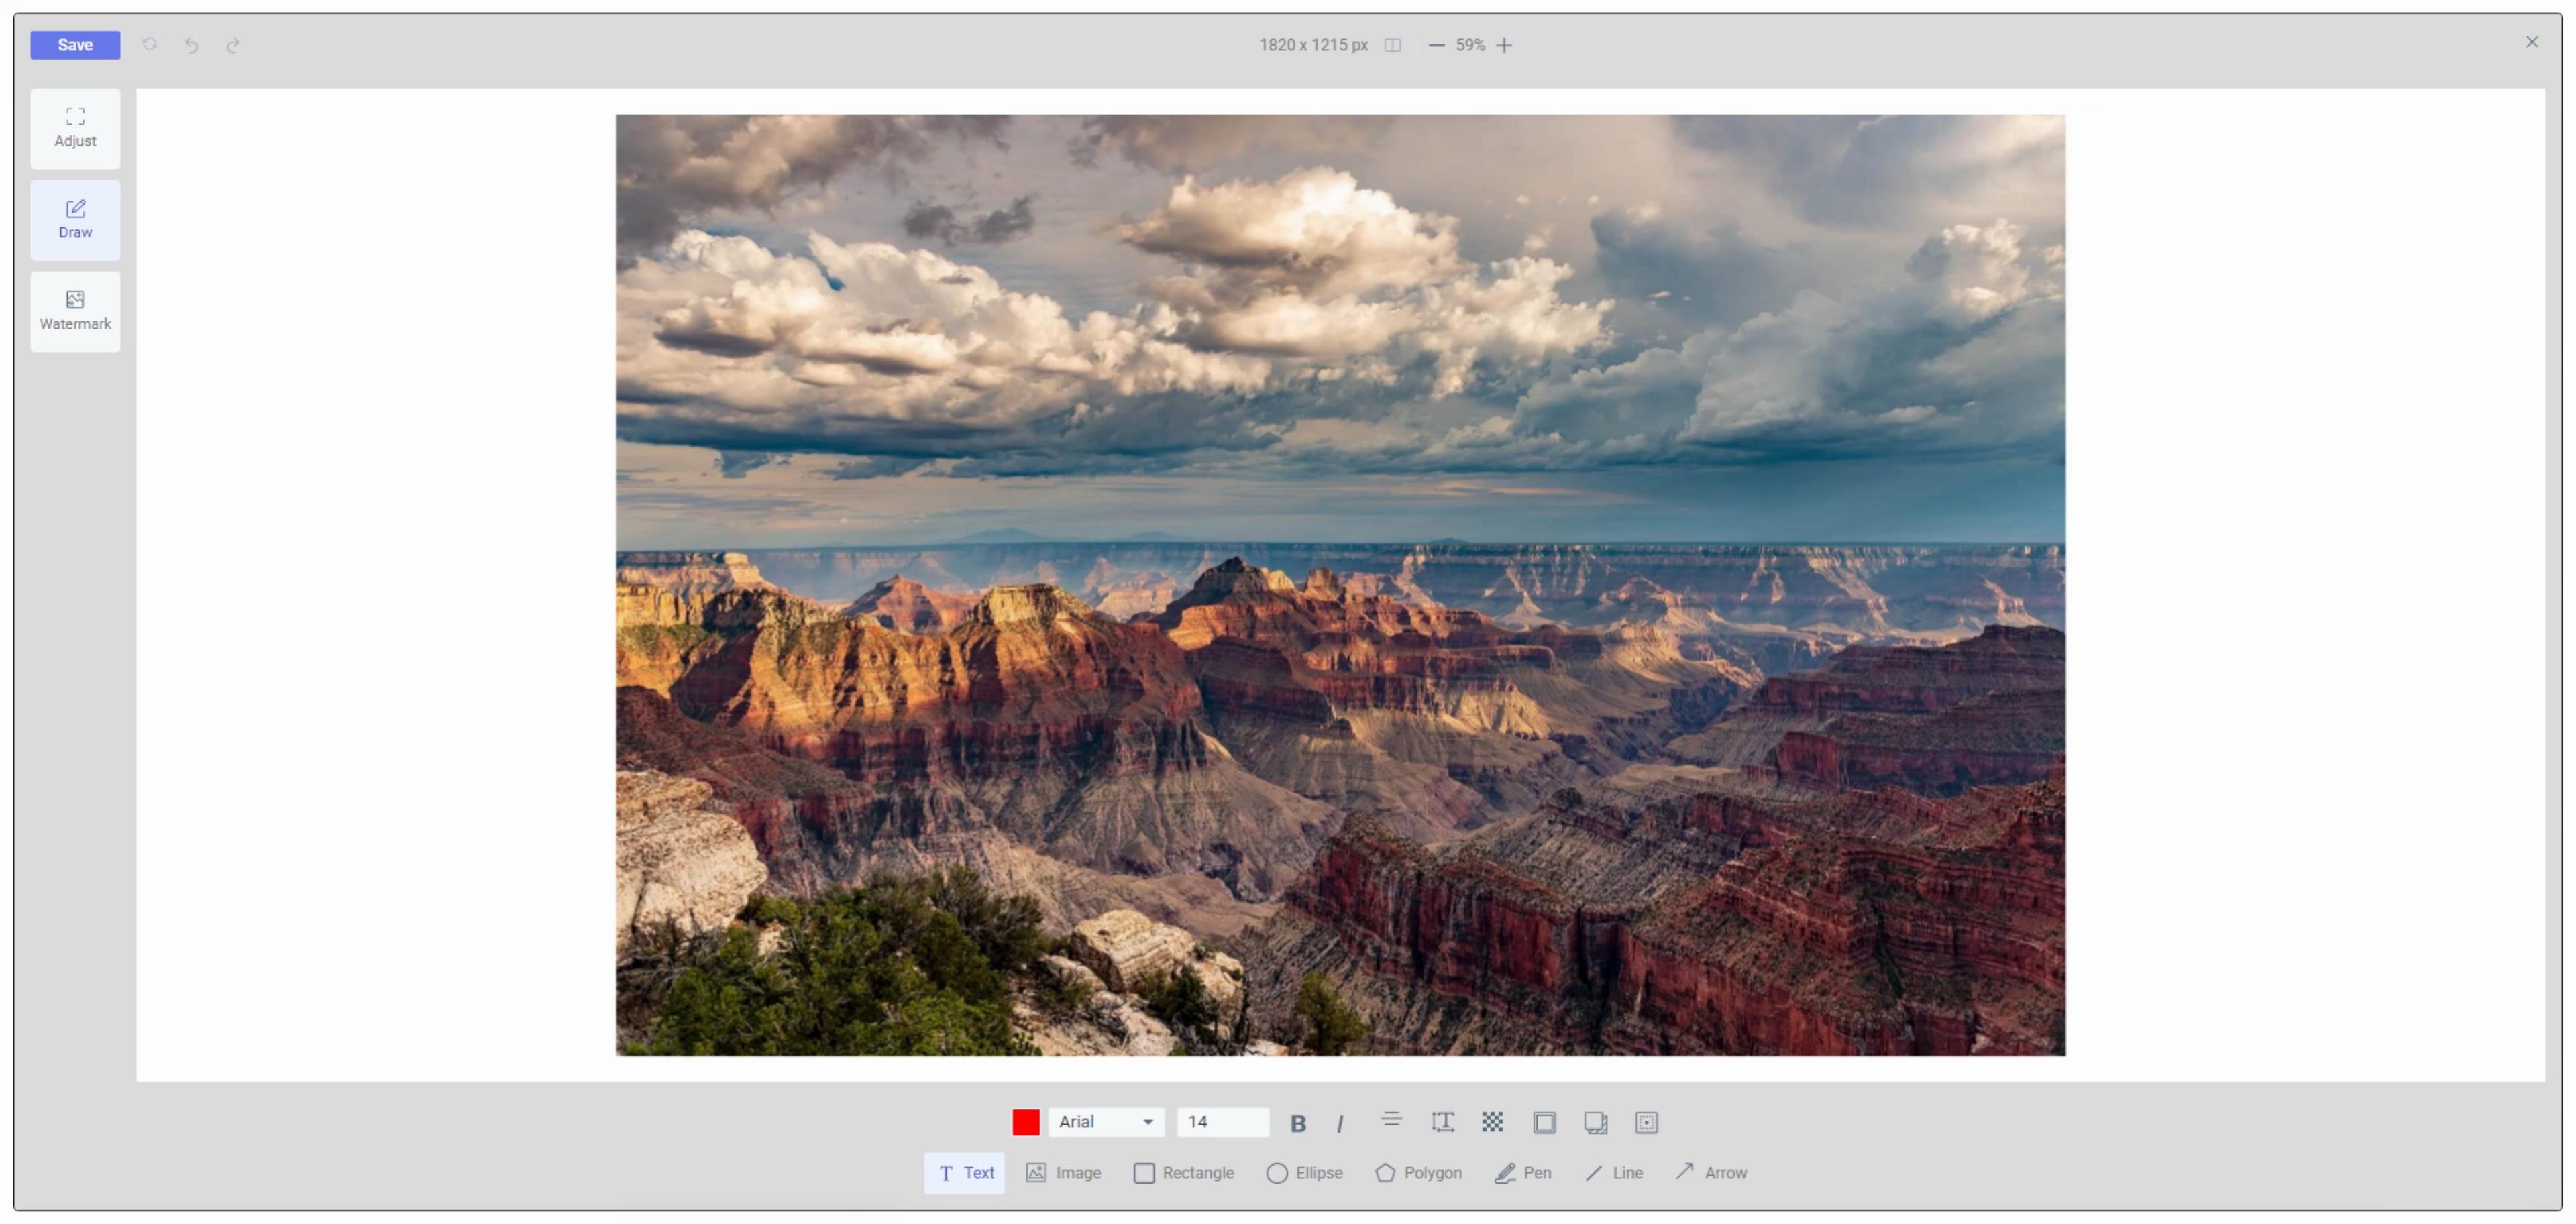
FIE, Rounded.
A small victory to be sure, but the idea here is that small changes should be possible without needing to delve
head-first into custom CSS work. Just a little TWebCSSClass to tweak a thing or two, so long as it is just a
thing or two that needs to be tweaked.
Starting at the End.
Using the same line of thinking, one of the things that you might have noticed is the X in the top-right corner. If you're using this as some kind of popup on a form, then perhaps having a close button makes some sense. But in that case, you might very well have other things going on, and would already have your own close button. So let's get rid of this one. Using another TWebCSSClass component, we might point it at the class for this specific button, and change its Display property to 'none'. However, setting that property of the TWebCSSClass to cdNone means that the property is not generated. Something for the TMS to-do list perhaps. So instead, we can just set it in code like this, in the TWebFormCreate procedure, after the FIE initialization code.
  asm
    document.getElementsByClassName('FIE_topbar-close-button')[0].style.display = 'none';
  end;
This also conveniently slides over the other elements in the top bar into the now-vacant top-right corner. Another approach is offered in the FIE documentation for FIE. There's a "showBackButton" option which, when set to "true", adds a back button at the top-left and moves what was at the top-left to the top-right. It looks like this.
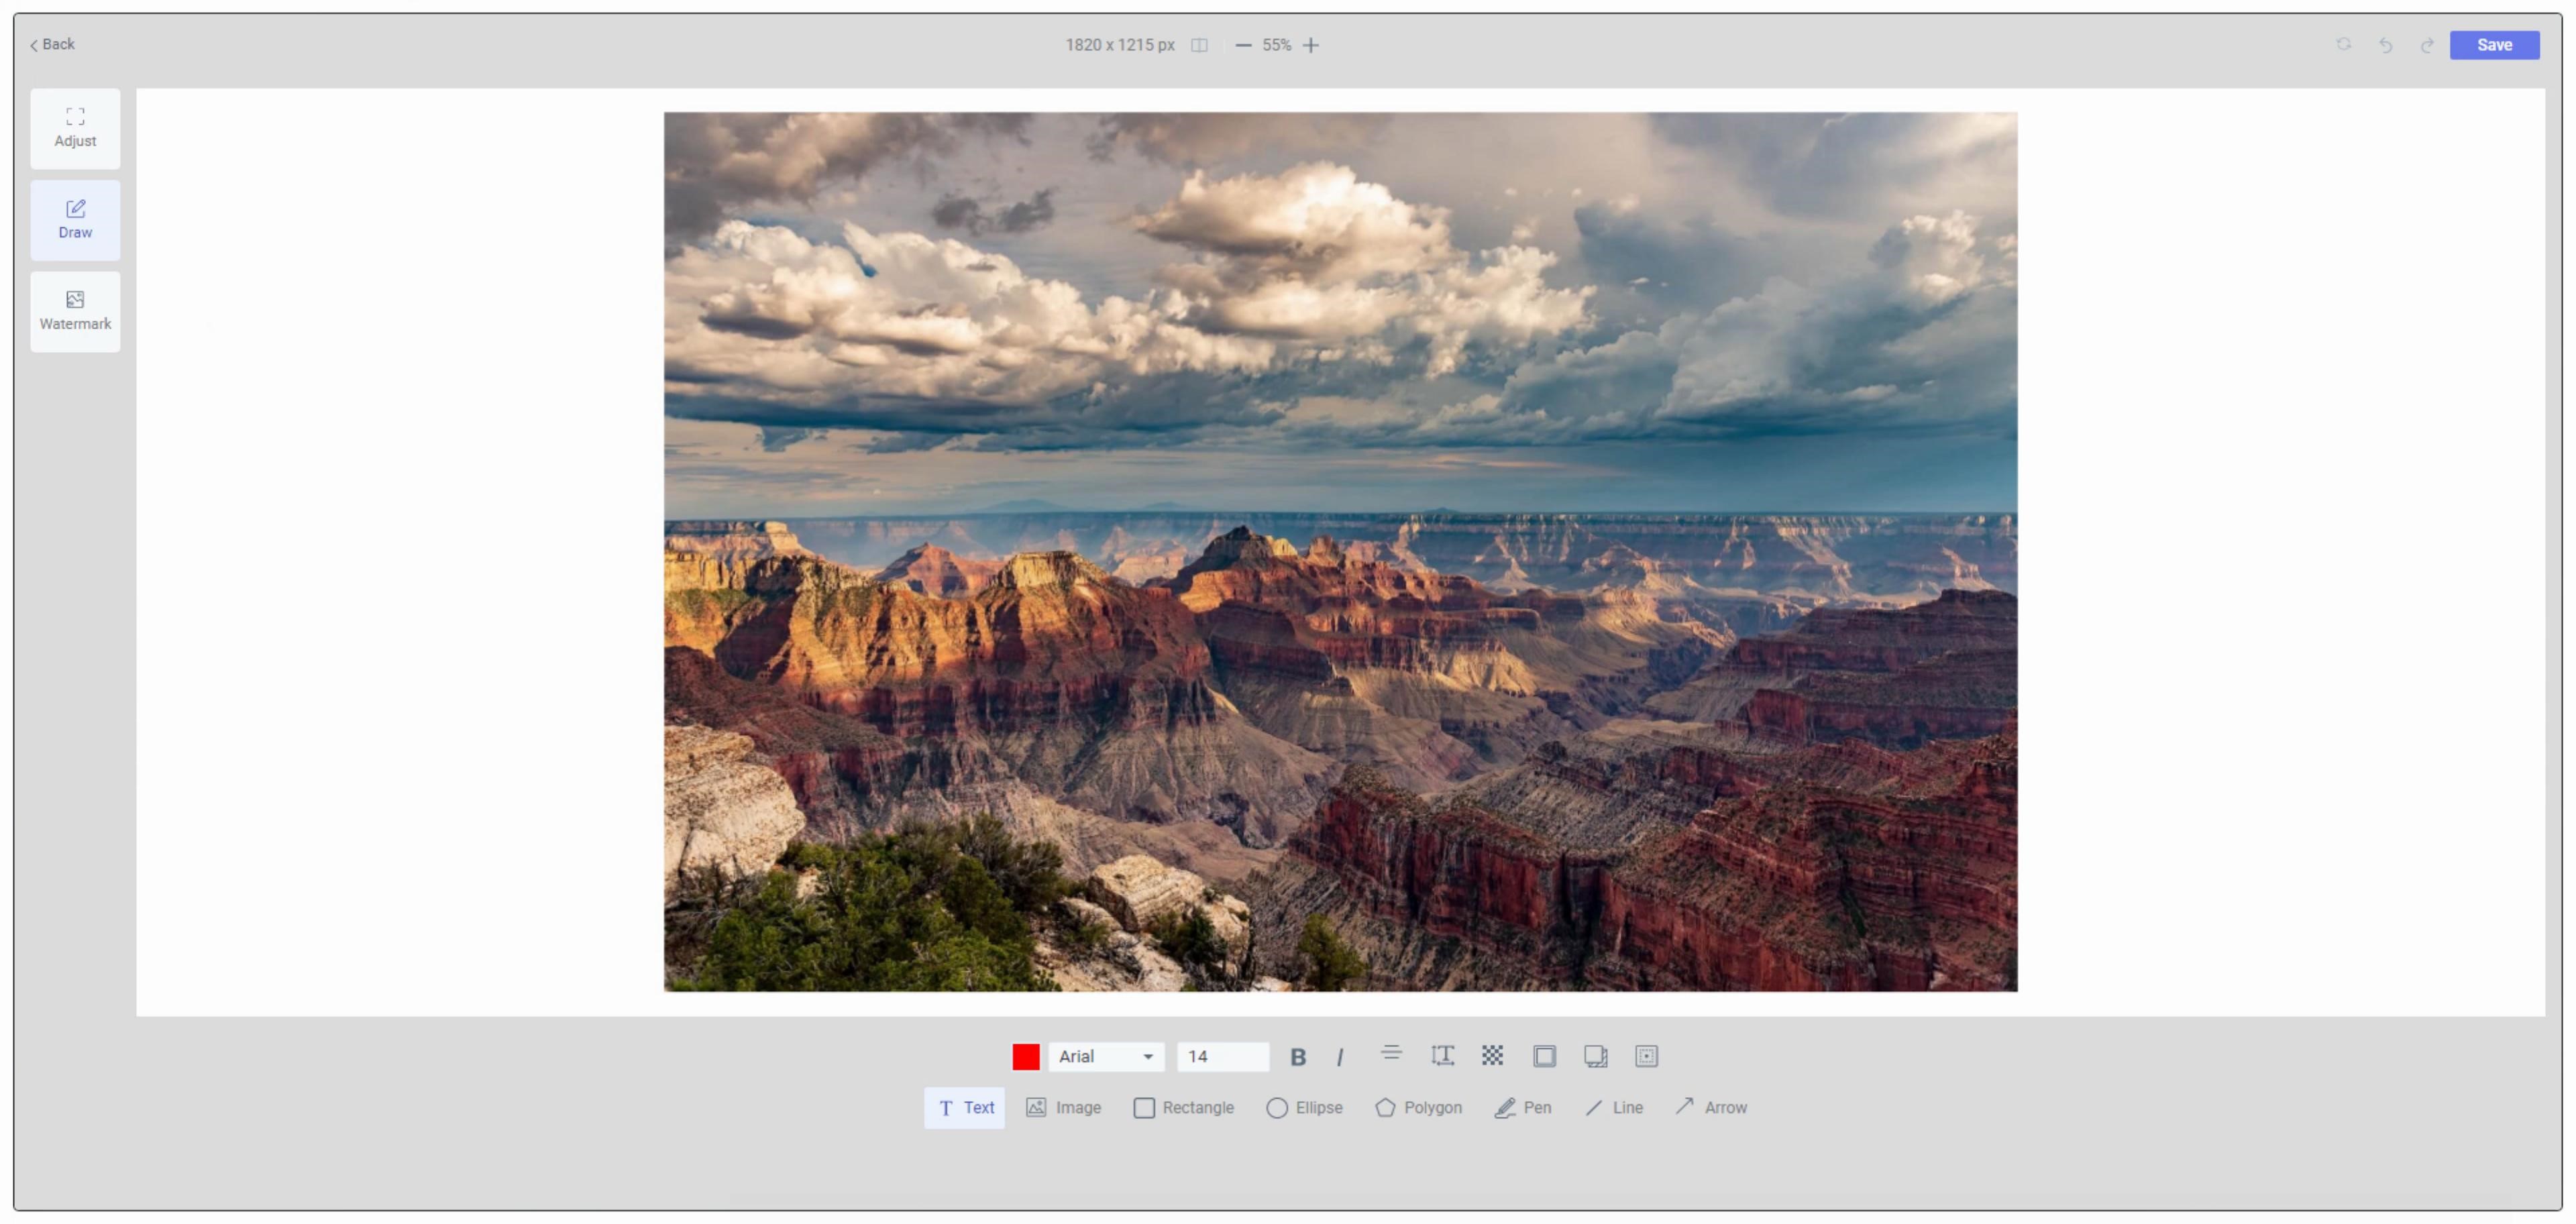
Back vs. Close.
Not sure that's much different than the Close button in terms of user experience, but as always, we do like to have options. Let's go with the button just being hidden. What works best for your project is of course entirely up to you. Been a while since I've wandered through the Apple iOS Human Interface Guidelines, but once upon a time they explicitly forbid anything resembling a 'close' function for an app, and with good reason. Can't recall anything else from that document off-hand, but that particular item always resonated with me.
Loading Images.
And now for our first big obstacle. "Already?" you might be asking yourself. This one nearly made me continue looking for another JavaScript library, but I stuck with it. What's the first thing you're most likely going to want to do? Well, load up an image of your own! So... Where's the load button? Well, there isn't one. Yet.
On their demo site, they show a gallery where you can add images, and then select one for it to be loaded into FIE. But alas, none of that interface (the gallery and the loading of images into said gallery) is part of FIE itself. Their demo isn't super-complicated and replicating the same thing in your own project is likely quite reasonable. But still. I even posted an issue to their GitHub project about this - it is just something that seems like they could add without much effort, rather than tripping you as you walk through the door for the first time. But I digress. Let's add a button and see what other kinds of trouble we can get into while we're at it.
Selecting an image to load might take on a different level of complexity entirely depending on the device you're using. Having a file dialog appear is great if you're on a desktop browser. But if you're on a mobile browser, maybe having a photo gallery appear might be nicer. Also, it would be handy to know a bit about the image that was selected, whether it is even a supported format, where it came from, and so on. Images can also potentially contain a lot of metadata (EXIF data, specifically) that we may or may not want to make use of. All of this is starting to sound like a bit more work, isn't it? Well, that just means it is an excuse to find another JavaScript library to help out. Let's give load-image a try.
<script src="https://cdn.jsdelivr.net/npm/blueimp-load-image@5.16.0/js/load-image.all.min.js"></script>
To get this up and running, there are a bunch of little things we'll have to do. Kind of painful to sort through the first time, and could likely be simplified to some degree, but here are the basic steps we'll need to perform.
- We'll need to add load-image to our Project.html file or via Manage JavaScript Libraries, as usual.
- It needs an <input> element to do its work. We'll add another TWebHTMLDiv to handle that. In its HTML property, we'll add "<input type="file" accept="image/*" id="file-input" />".
- We'll need to place and style the button.
- Finally, we need to connect this all to FIE.
    window.FIE = this.FIE;
    document.getElementById('file-input').onchange = function () {
      // load image into editor
      loadImage(this.files[0],{
      }).then(function (data) {
        var { TABS, TOOLS } = FilerobotImageEditor;
        window.FIE  = new FilerobotImageEditor(
          document.querySelector('#divEditor'),
          config
        );
        window.FIE.render({source: data.image});
      });

      // load any meta data that can be found in the image
      loadImage.parseMetaData(this.files[0],{
      }).then(function (data) {
        console.log('Original image head: ', data.imageHead);
        console.log('EXIF data: ', data.exif);
        console.log('IPTC data: ', data.iptc);
      });

    }
There's a lot going on here. First, we're watching our <input> element to see if it is changed. When it is, we go off and get the image and then create a new instance of FIE to hold it, using the same configuration parameters that we were using previously. Not sure if there is a better way, but this more or less reinitializes everything FIE-related and seems to work OK. Not doing this seems to be... problematic. And we've got enough problems of our own without adding to them.
The second part goes through the same motions to get the image again, only this time it outputs the image metadata to the console. Depending on the image, there may be no data, a little bit of data, or a great deal of data. To test, let's load up the image of the Sombrero galaxy taken by the VLT that we had in our last project. The result should look something like the following.
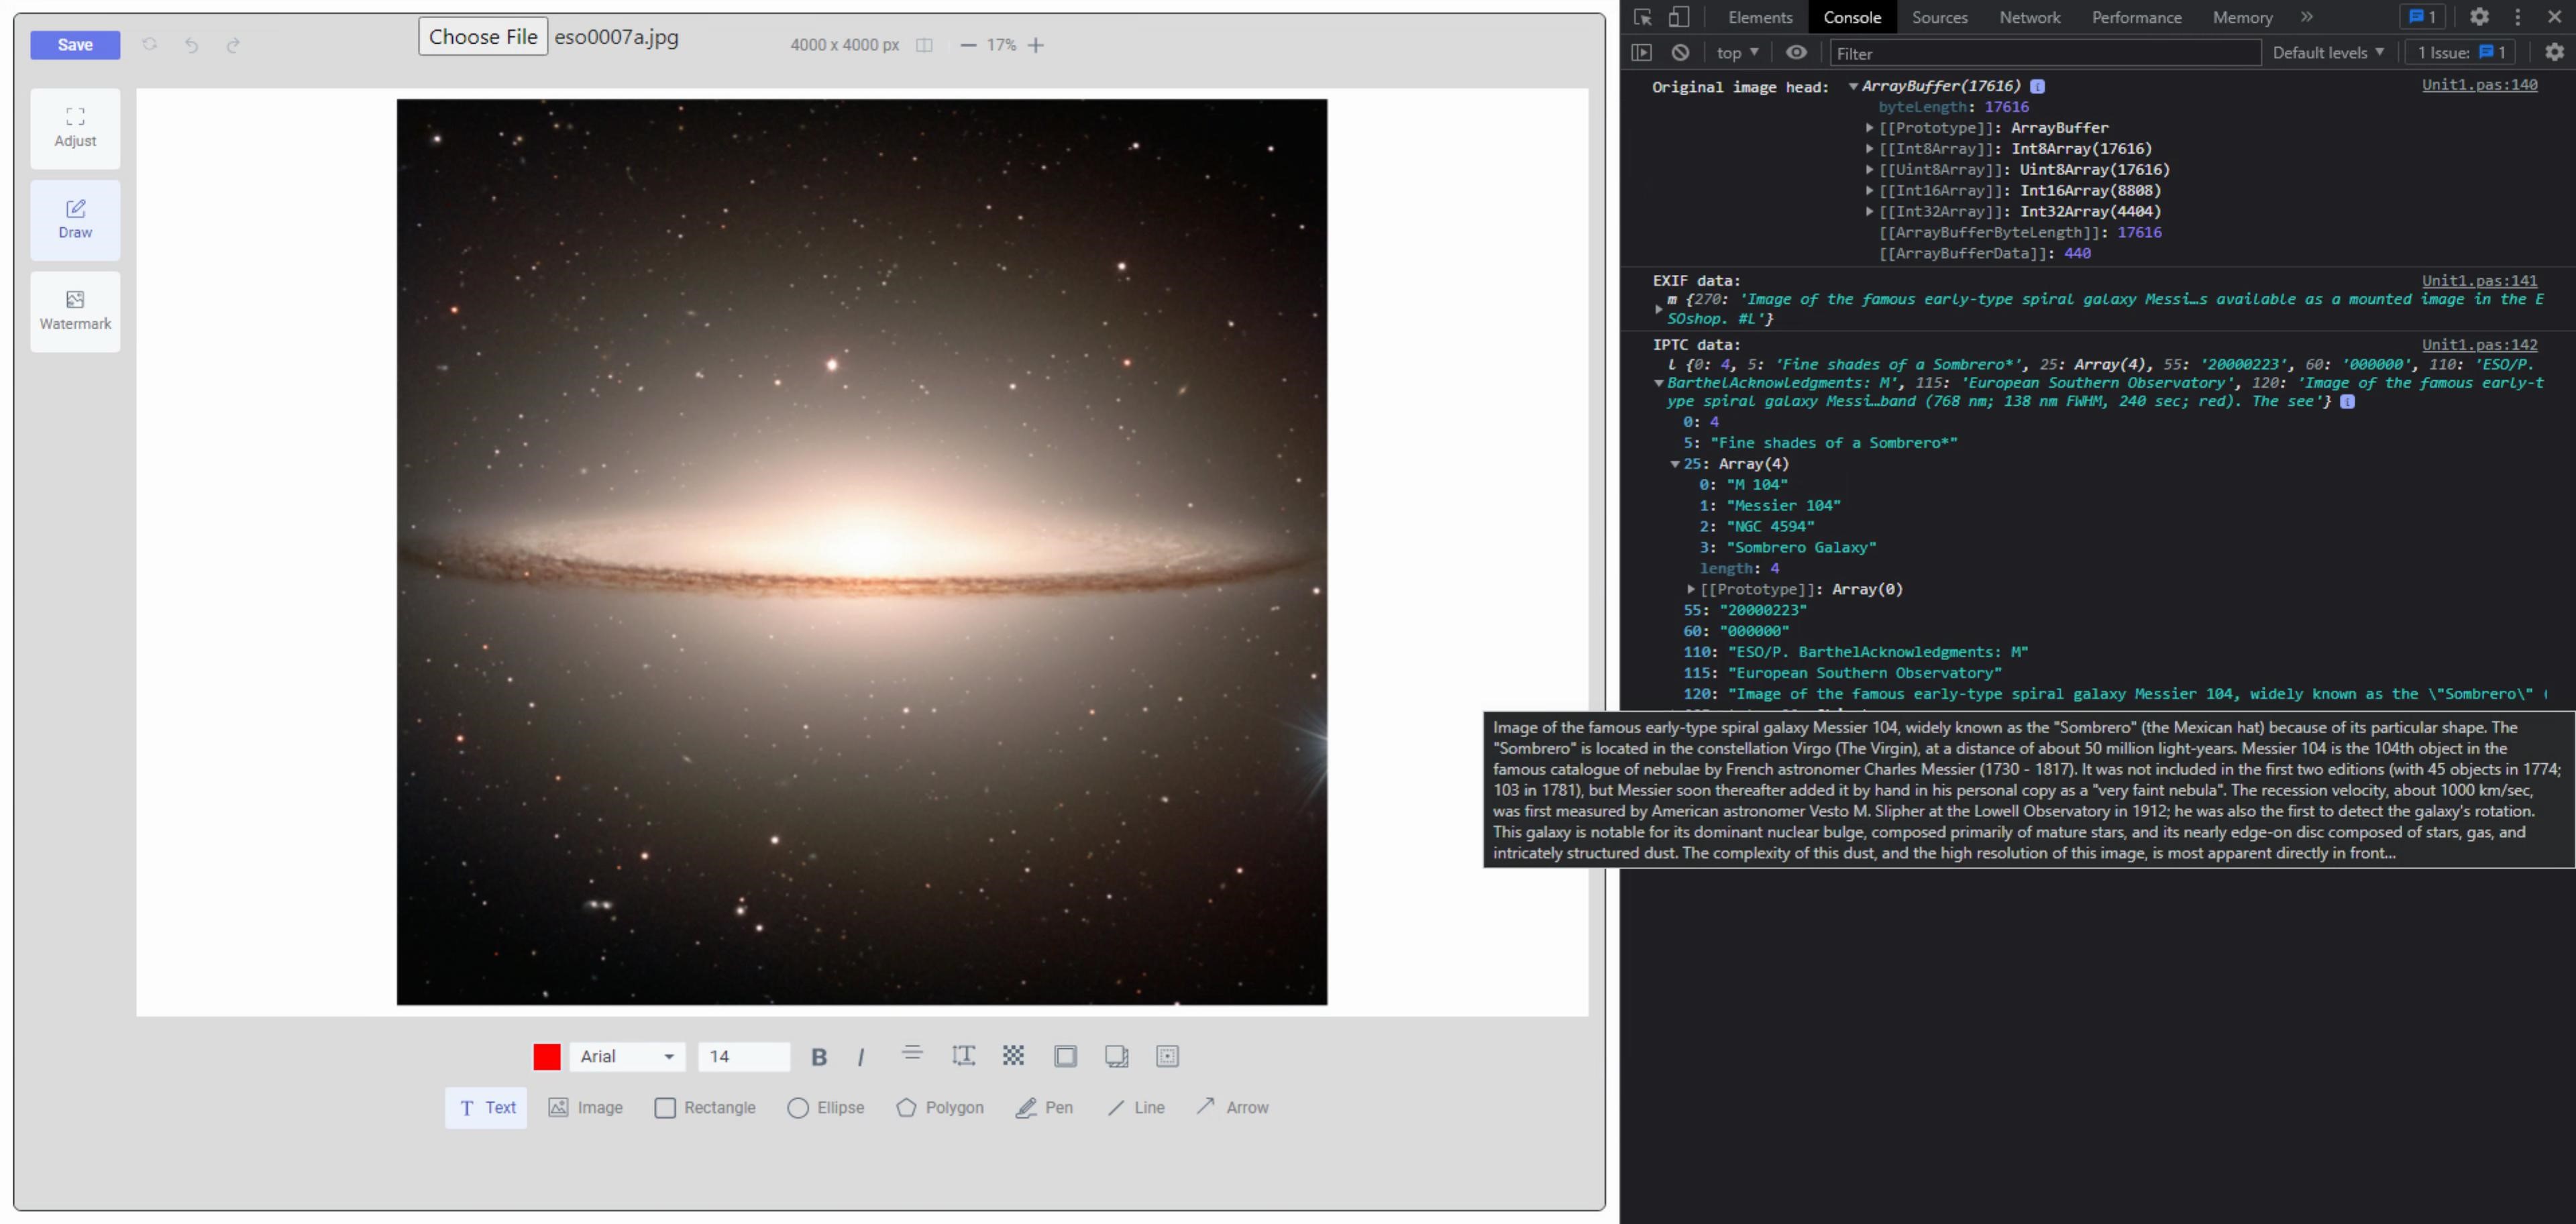
FIE with EXIF and IPTC Data.
The EXIF and IPTC data are accessible via JavaScript, so if you're after some of that data, it is easily accessible when
the image is first loaded. There are plenty of test images around if you're looking for examples of this kind of
data, but astronomy photos are a good source as well. As are any images that come from a mobile device. Sometimes this data gets stripped due to privacy concerns, but all of that is well beyond the scope of what we're
after at the moment. The load-image JavaScript library has a lot of other functionality as well, even some limited ability
to write back EXIF data in certain cases. But for our purposes, we've got what we were after - the ability to
load images.
The only thing left with this is to style and place the button. It is actually the TWebHTMLDiv element's
<input> tag that draws the button. We can deal with that in a roundabout way by wrapping it in a
<label> and then adding some Bootstrap ingredients to get what we're after. This can all be included in the
HTML property of the TWebHTMLDiv that we're using. While we're at it, we can set the font properties to match that
of the Save button, and even add a TWebCSSClass to make the Save button the same color as the Load button. Just
playing with options here.
<label class="btn btn-primary px-3" style="font-size:12px; font-weight:500; font-family:'Roboto'; ">
  Load
  <input style="display:none;" type="file" accept="image/*"  id="file-input" />
</label>
The Load button can be positioned normally (absolute positioning), essentially placing it over the entire FIE control. Then we can shift over the element containing the Save button, using padding-left to free up the space we need. Nothing fancy here, a bit of fiddling, but we eventually get what we're after.
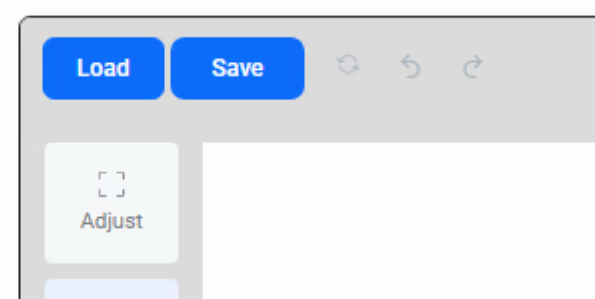
Load/Save Buttons.
This kind of adjusting for styling can be applied to virtually the rest of the controls. Which can be tedious
depending on how much of a departure your own project's theme is from the FIE theme.
Editing Images.
Naturally, the reason for using the control in the first place is to edit images. Fortunately, there's not much work to do here aside from trying out all the editing functions. They are grouped into six sections on the left. Curiously, the sample initialization code doesn't include them all. Easily corrected by adjusting the config values.
tabsIds: [TABS.ADJUST, TABS.ANNOTATE, TABS.FILTERS, TABS.WATERMARK, TABS.FINETUNE, TABS.RESIZE]
The default tab that is highlighted can be set, as can many of the defaults for the properties within each tab. The documentation isn't spectacular, but it has everything that is needed to get this configured the way you'd like. Note that this is also a project under active development. For example, just in the last couple of weeks, the rotation function was upgraded from just 90deg options to a more generic tool that allows any rotation angle. Likewise, some of the available tabs have changed since I first used this JavaScript library a few months ago. Similarly, previous versions had a handful of issues related to popup windows not being at the correct z-order, causing various problems. These seem to have been corrected in the version available today.
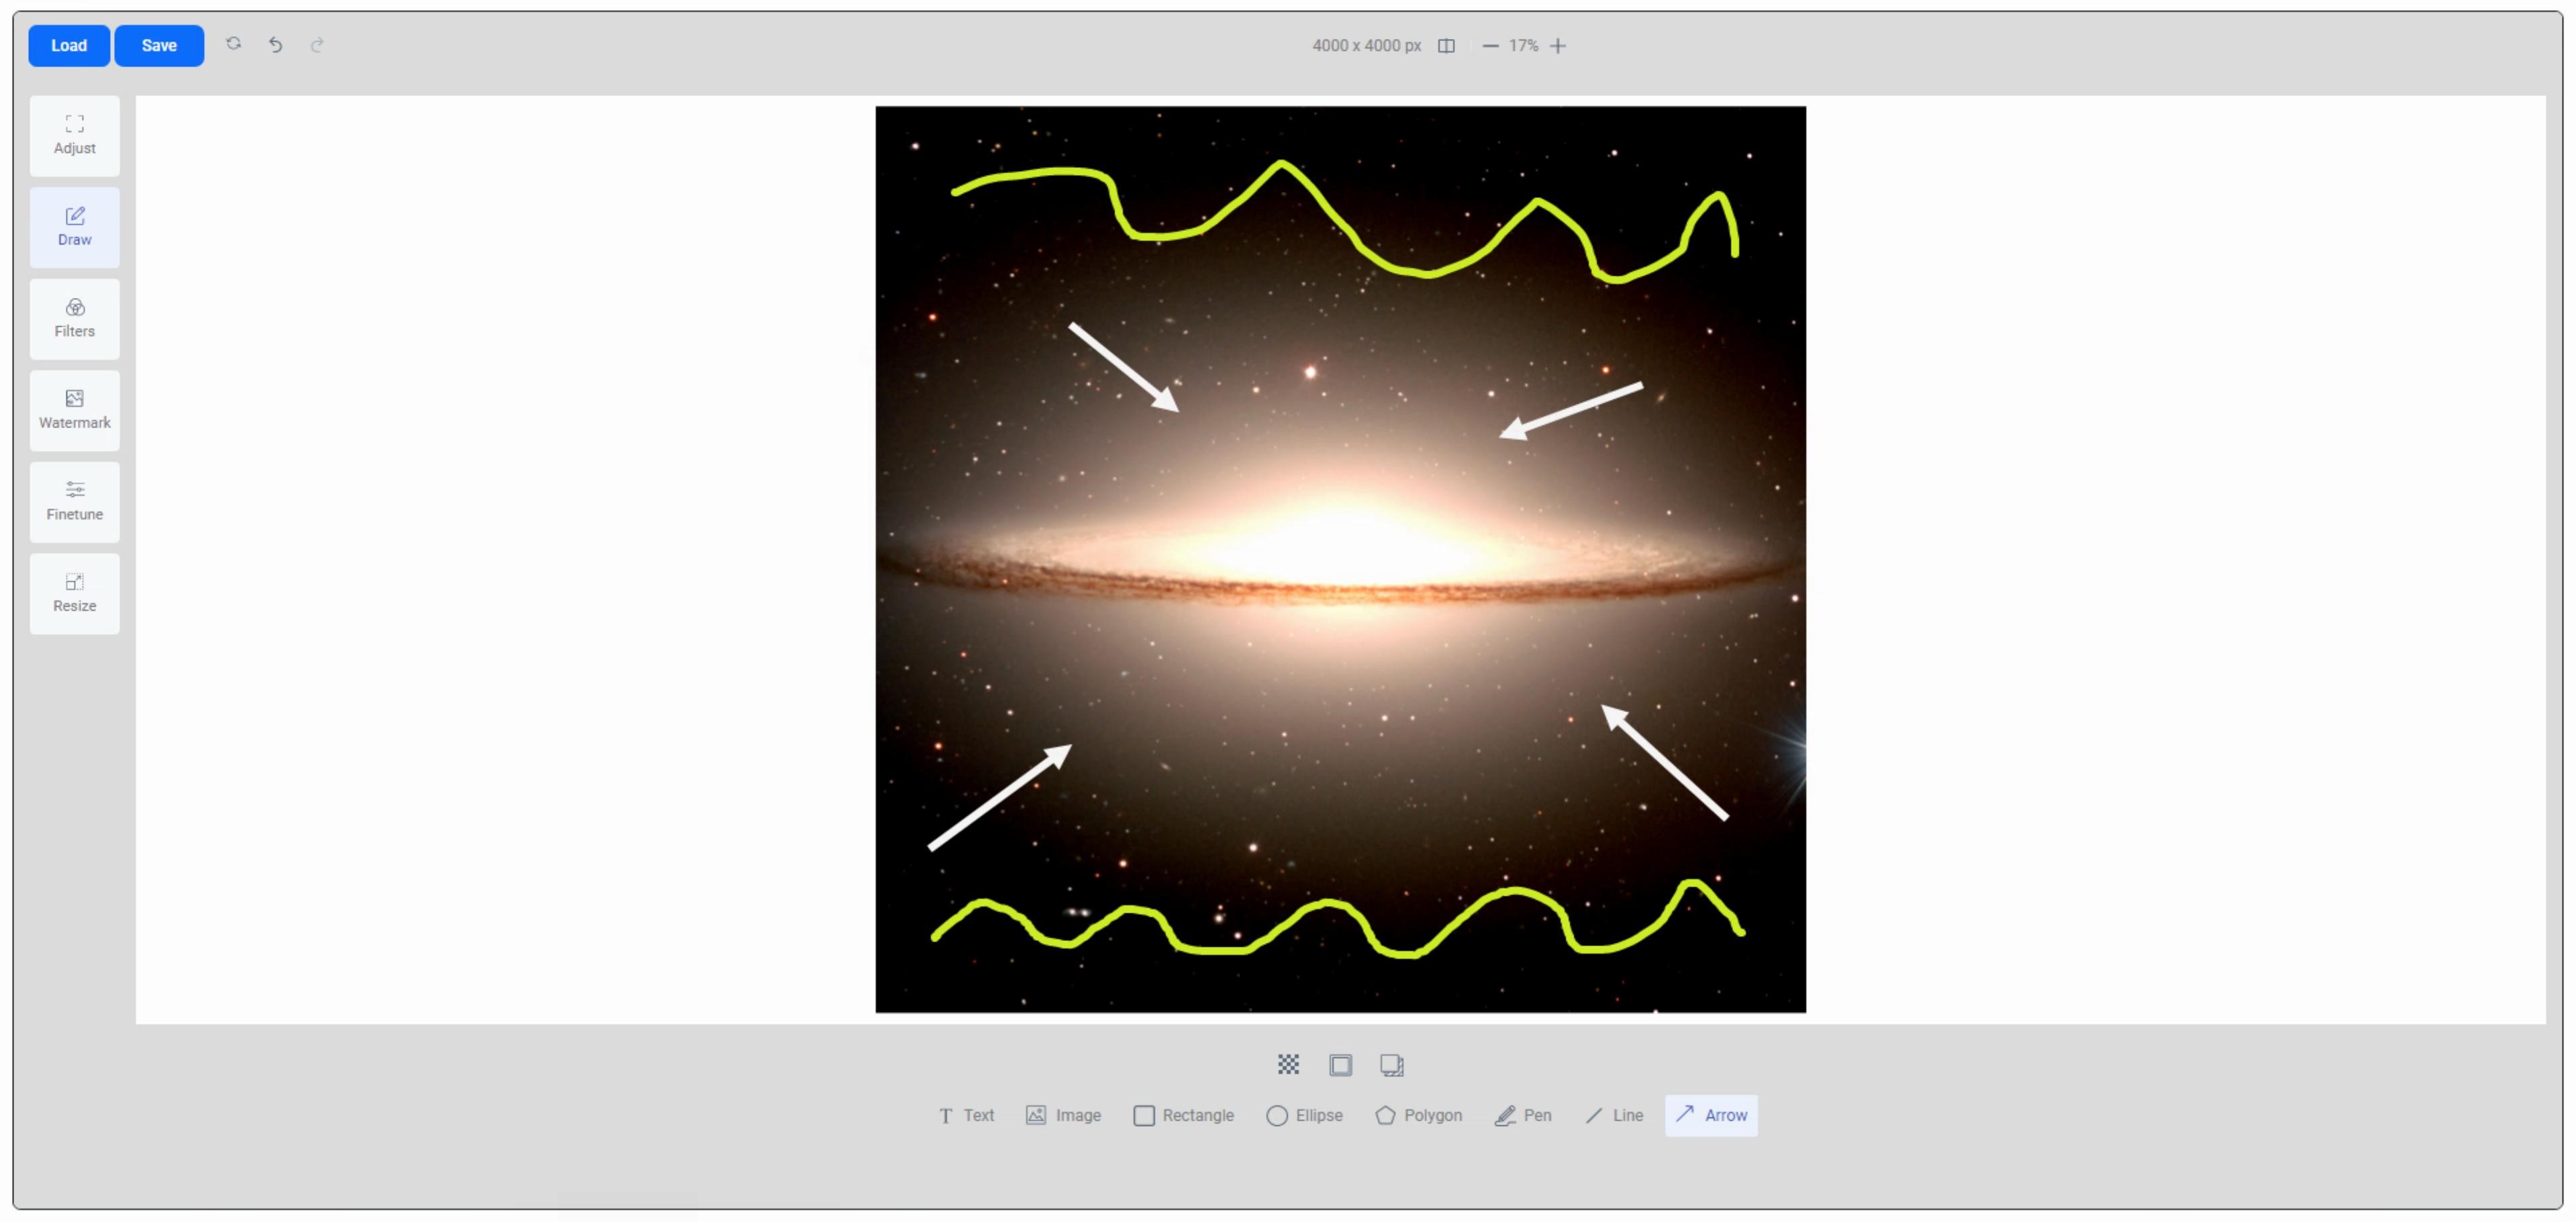
Editing Images - Annotation Arrows and Drawing.
Saving Images.
Once you've finished with your editing, the last step naturally is to save the image. Here, too, things are
more complicated than they need to be. Possibly related to the notion that the organization that created FIE is
involved in the cloud storage business, so naturally, that's where they'd like files to go. In any event, lots of
options here. In fact, the Save button itself can be configured to have a dropdown with additional custom
options. Save to Cloud. Save Locally. That sort of thing. For our purposes, we'd like to just be able to
download the file that we've edited. To do this, we update the onSave function to do exactly that. The properties
we're accessing are derived from the data entered into the popup that appears when we click the Save button.
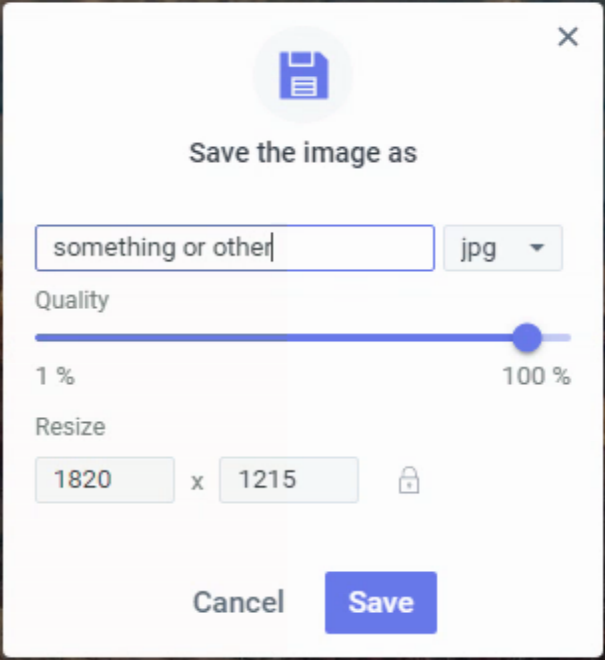
FIE Save Popup.
This popup can be customized (and multiple popup windows can be configured) through the config options, with
custom code for saving data defined separately for each. For our generic "download" option, this looks like the
following (credit).
      onSave: (editedImageObject, designState) => {
        console.log('saved', editedImageObject, designState)
        var tmpLink = document.createElement('a');
        tmpLink.href = editedImageObject.imageBase64;
        tmpLink.download = editedImageObject.fullName;
        tmpLink.style = 'position: absolute; z-index: -111; visibility: none;';
        document.body.appendChild(tmpLink);
        tmpLink.click();
        document.body.removeChild(tmpLink);
        tmpLink = null;
      }
The editedImageObject object is what contains all the parameters that were filled in from the popup. And the popup can also be skipped entirely. Again, lots of options are available but it sometimes takes a bit of work to uncover them and figure out how they're used. The sample code above, for example, was buried in one of the issue threads, and even then in a generic way that didn't list the properties specifically, which again is like tripping your customers as they're walking into your store. In any event, it works pretty well once these little things are sorted out.
Editing the Days Away.
That's about it for this JavaScript library. There's a lot more to the story when it comes to the actual editing aspects, but no coding is required, so you can just use what's there. With what we've covered, we can load up an image, edit it, and then save it. The image is accessible while editing and some editing can be done programmatically as well. It seems reasonably performant for the editing tasks available and has quite a number of editing features that are simple and straightforward. And while I might be a bit picky about the finer points of providing better example documentation (and a load button!), and while I also might not be a huge fan of the styling, these are all items that we've either addressed here or could address using the same steps we've gone through already. Overall, a workable JavaScript library.The sample project can be downloaded here.
Feedback time. What do you think of FIE? Have you used another image editing JS library? There are some fancier ones that come with an annual price tag (Pintura comes to mind), but none that I have any direct experience with,
so I can't really compare. Would be interested to hear about your collective experiences in this area!
Follow Andrew on 𝕏 at @WebCoreAndMore or join our 𝕏 Web Core and More Community.
Andrew Simard

This blog post has not received any comments yet.
All Blog Posts | Next Post | Previous Post