Blog
All Blog Posts | Next Post | Previous Post

 Create calendar events with TMS WEB Core
Tuesday, August 11, 2020

The world is busier than ever and unless you are gifted with an incredible memory you need your own agenda to keep track of all the appointments and events. Luckily there are media types that allow you to store and share calendaring and scheduling information: vCalendar and iCalendar. But what is the difference between the two? To put it simply, vCalendar is an older format while iCalendar a newer format that is based on vCalendar. Both formats are widely supported.
vCalendar and TMS WEB Core
In many cases if you download a VCS/ICS file your device will either automatically try to add it to your calendar or you first need to open the file and then it will prompt you to add it to your calendar - as long as you have an application installed that supports VCS/ICS.So we asked ourselves: Can we create and download a VCS/ICS file directly from a TMS WEB Core client application? A few hours of research work resulted in a new non-visual component: TWebvCalendar.
TWebvCalendar is a component that implements the RFC2445 specification. It encapsulates the functionality of vCalendar and iCalendar in a Delphi-friendly way.
To change between the two formats, use the TWebvCalendar.vCalendarVersion property, where the vv1 value indicates vCalendar and vv2 refers to iCalendar. The default version is set to vv2 as most modern calendaring/scheduling applications support it anyway.
You can add the events either at design-time or programmatically via the TWebvCalendar.vEvents property, which is a collection of TvEvent items.
procedure TForm1.WebButton1Click(Sender: TObject);
var
  vevent: TvEvent;
begin
  vevent := WebvCalendar1.vEvents.Add;
  vevent.DTStart := EncodeDate(2020,8,1)+EncodeTime(10,0,0,0);
  vevent.DTEnd := EncodeDate(2020,8,1)+EncodeTime(12,0,0,0);
  vevent.Summary := 'My first appointment';
  vevent.Location := 'My location';
  WebvCalendar1.SaveToFile('mycalendar.ics'); //default is vv2
end;Example
We have some events coming up in the following weeks starting this Thursday (13th August) with a Webinar hosted by Embarcadero Germany. If you haven't already, you can still register here!To keep track of all these events, we decided to create a Progressive Web Application (PWA). A PWA behaves just like a regular website when you visit it from your browser:
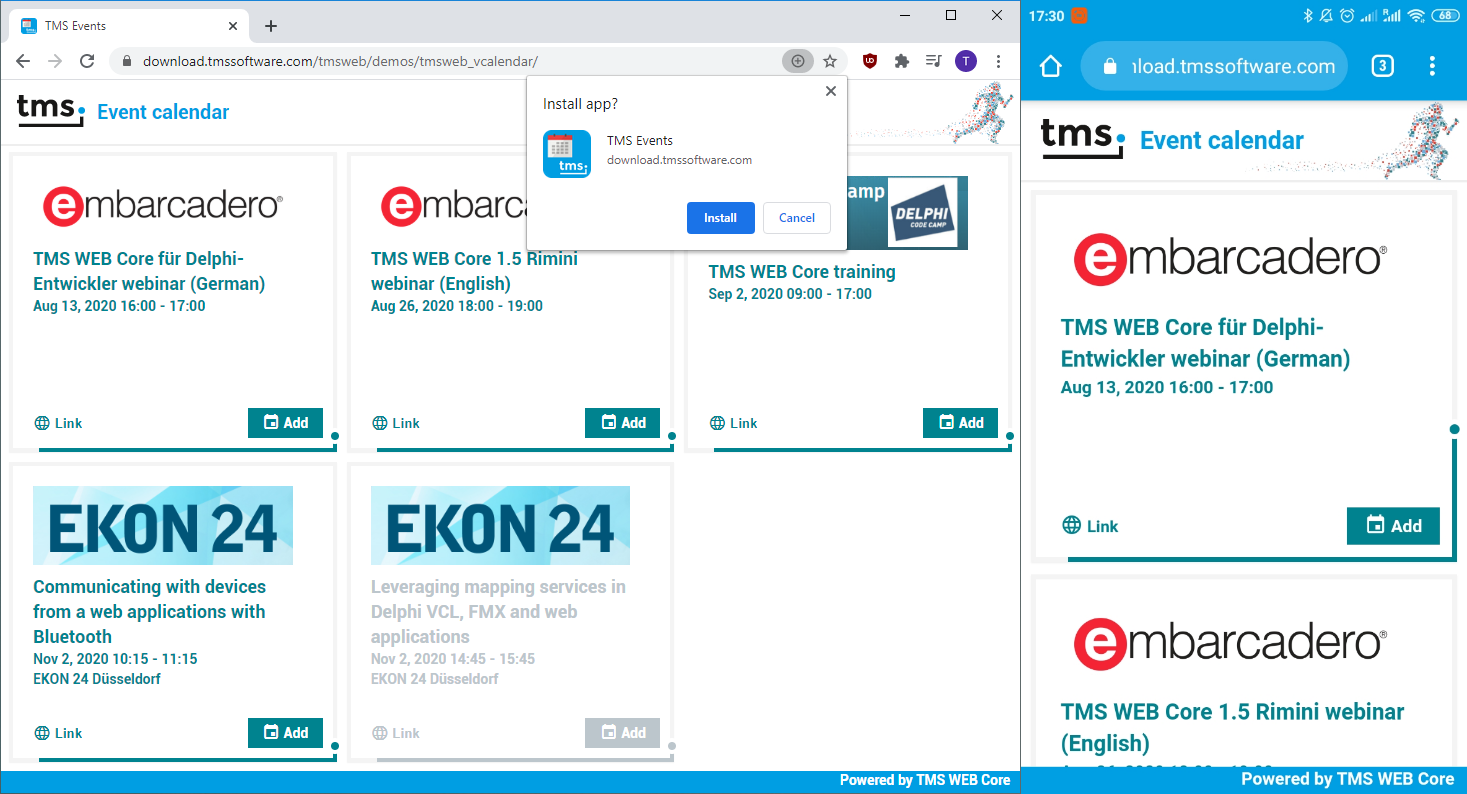
But as you can already see in the image, it's also possible to install it as an application on your device! After that, it can be accessed from the home screen:
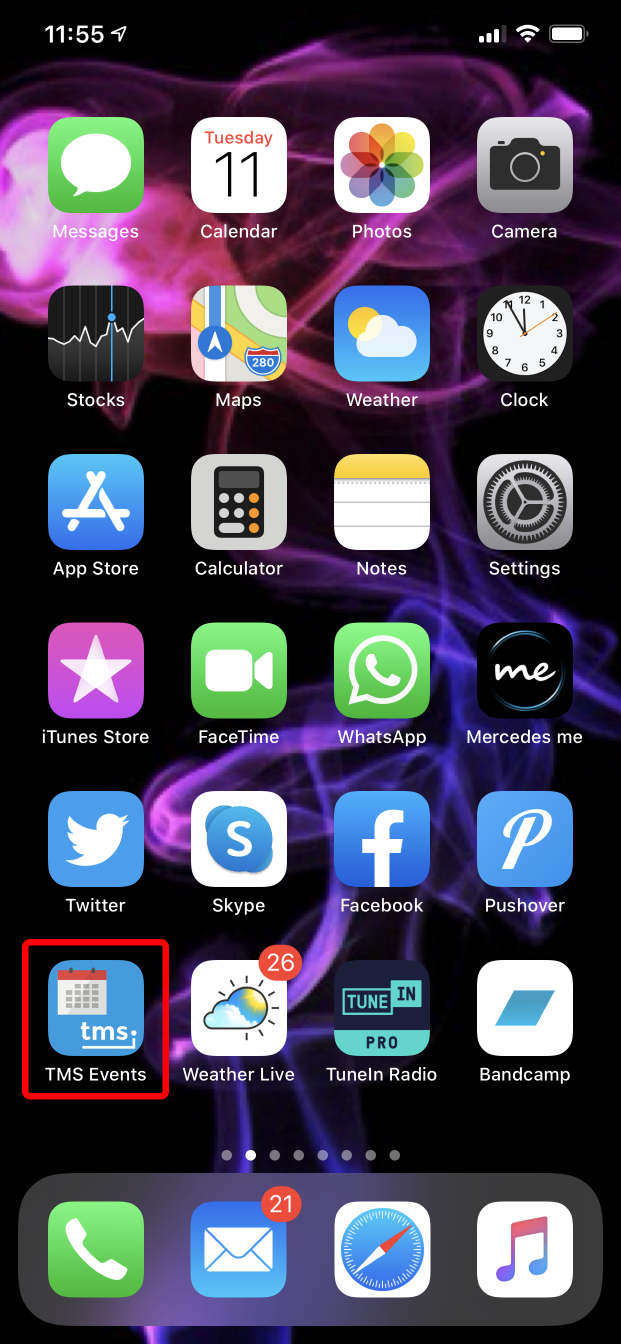
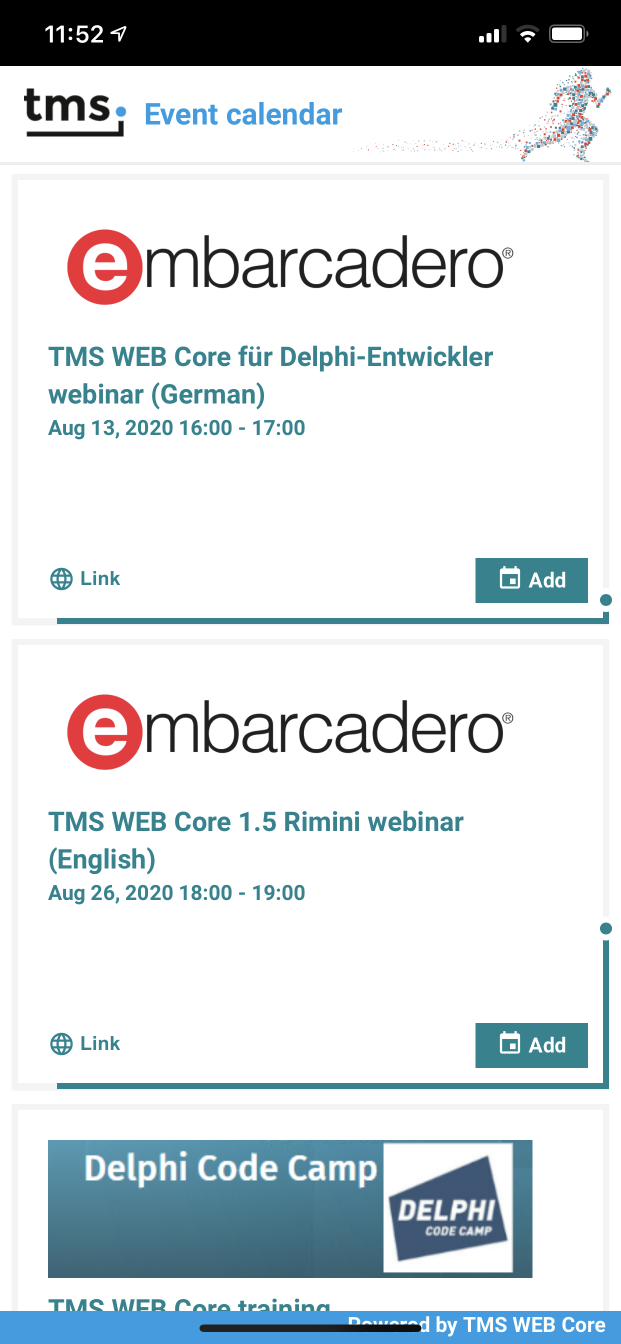
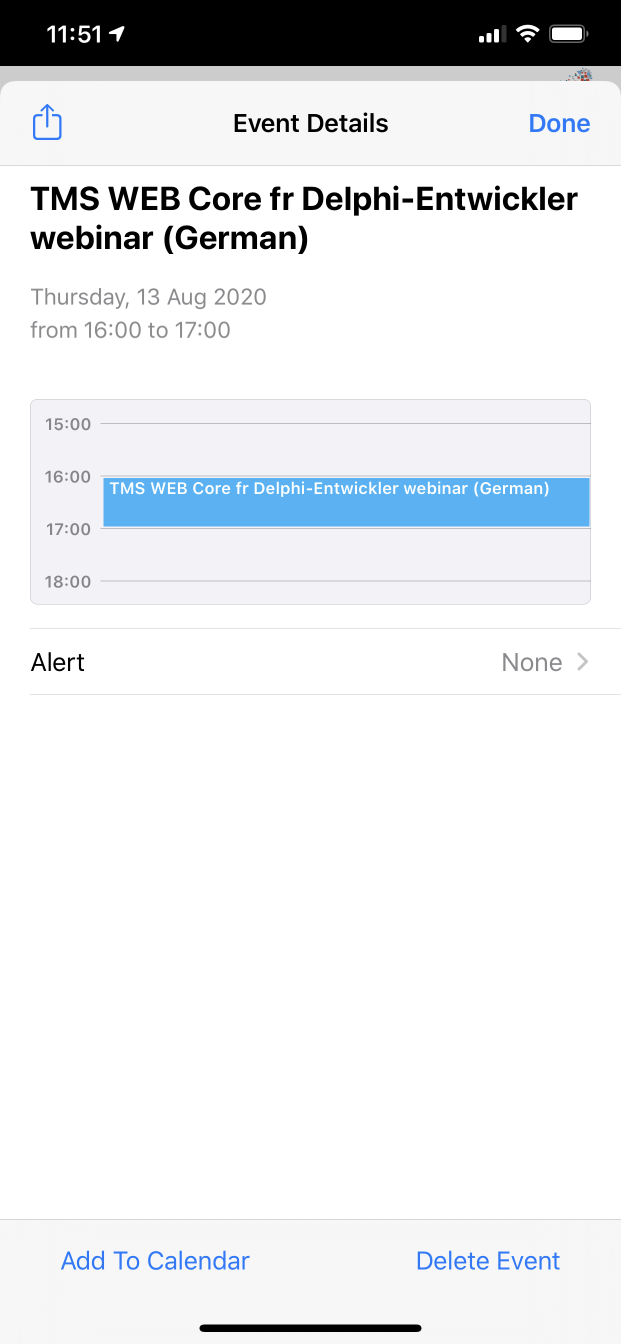
From left to right the images are as follows: Application on the home screen, running the installed application and clicking the "Add" button.
The code itself is rather simple. First we need to make an HTTP request and process the incoming JSON response that contains all the events. It's important to mention that we store and retrieve the time for each event in UTC with no offset. This way when we convert a time to a JavaScript Date object and after that to a TDateTime object, the correct time zone is automatically handled. If you are currently not in the CEST time zone, then you are going to see a different time than what's seen in the picture above.
The next thing to do is to show the event items in a TWebResponsiveGrid. While we process the incoming data we can use the TWebResponsiveGridItem.ItemObject property to save everything we want to access later. Then to add these event to our calendar, we add a button to each of these grid items by implementing the TWebResponsiveGrid.OnItemCreated event:
procedure TForm3.WebResponsiveGrid1ItemCreated(Sender: TObject; Index: Integer);
var
cont: TControl;
btn: TWebButton;
itm: TWebResponsiveGridItem;
begin
itm := WebResponsiveGrid1.Items[Index]; //get the grid item
cont := TControl.Create(WebResponsiveGrid1); //create a dummy TControl
cont.Container := itm.ElementHandle; //assign the TJSHTMLElement of the item to the dummy control
btn := TWebButton.Create(cont);
btn.Parent := cont;
btn.Caption := ' Add';
btn.Tag := Index; //set the Tag to the Index value
btn.Cursor := crHandPoint;
btn.ElementClassName := 'add-button'; //this CSS class contains the button positions
btn.ElementPosition := epIgnore;
btn.OnClick := DoEventClick;
//Add the ElementHandle of the button to the ElementHandle of the grid item.
//It depends on your specific item structure, but usually it looks something like:
//itm.ElementHandle.appendChild(btn.ElementHandle);
end;procedure TForm3.DoEventClick(Sender: TObject);
var
ev: TEventItem; //this is a custom TObject class
vcal: TWebvCalendar;
vevent: TvEvent;
begin
ev := TEventItem(WebResponsiveGrid1.Items[(Sender as TWebButton).Tag].ItemObject); //get the ItemObject
vcal := TWebvCalendar.Create(self);
vcal.vCalendarVersion := vv2; //use iCalendar
vevent := vcal.vEvents.Add;
vevent.DTStart := ev.StartTime;
vevent.DTEnd := ev.EndTime;
vevent.Summary := ev.Subject;
if ev.Location <> '' then
vevent.Location := ev.Location;
vcal.SaveToFile('myevent.ics');
vcal.Free;
end;
We also decided to make this TWebvCalendar component available through our TMS WEB Core Partner program just like we did with TWebQRCode and TWebZip components. You can download it for free from here. The full source code of the demo is also available in the download, so you already have a starting point if you want to create something similar for your web application!
To install, open, compile & install the package from the "Component Library Source" folder. This will install the design-time TWebvCalendar component.
For use at runtime, make sure that the "Core Source" folder is in your TMS WEB Core specific library path that you can set via IDE Tools, Options, TMS Web, Library path.
Tunde Keller

This blog post has not received any comments yet.
All Blog Posts | Next Post | Previous Post