Blog
All Blog Posts | Next Post | Previous Post

 TMS Web Core and More with Andrew:
Miletus and Raspberry Pi Intro
Thursday, September 15, 2022

A few posts back, we had a quick look at creating a TMS WEB Core project using the Miletus framework to create desktop-class applications for Windows, Linux, and macOS. We successfully ported our Leaflet example to all three platforms and got them up and running without much effort at all. Today, we're going to have an initial look at a basic Raspberry Pi system. Then we'll deploy the same Leaflet example to that platform and see how it performs.
Motivation.
When thinking of traditional desktop platforms, naturally Windows, Linux, and macOS, in combination, cover the vast majority of potential users. And, as we've seen previously, using the Miletus framework means we can deploy applications to these platforms pretty easily. However, there are certainly other potential platforms to consider.
Tablets, most notably Apple's iPad, are now pretty solid contenders as desktop (or at the very least, laptop) replacements for many use cases. TMS WEB Core projects can be deployed as PWA apps, as we've also covered previously, which work just as well on tablets. And almost any modern platform is able to access traditional web applications. Platforms like ChromeOS and Raspberry Pi, with their Raspberry Pi OS, fall in this category.
However, in the case of Raspberry Pi, one of the key draws is its ability to connect easily to sensors and other hardware. This is where web standards tend to come up short, and where the Miletus framework steps in to help bridge that final gap.
Getting Started.
There are dozens of flavors of Raspberry Pi hardware available, and various "kits" can be purchased that can range from a basic populated circuit board to a full-blown desktop computer. For our first foray into Raspberry Pi, we're going to try out something closer to the desktop end of the spectrum, with a Raspberry Pi 4 kit.
This includes a board with an enclosure, as well as a keyboard and mouse. Everything we need to get a Raspberry Pi desktop up and running with a minimum amount of effort. Depending on where you are in the world, acquiring such a system may very well be trivial. In my part of the world (Canada), it was just a matter of placing an order with a local Raspberry Pi dealer. The order arrived just a few days later.
Other variations of these products were not available or were back-ordered, and have been for quite some time. Some had purchase limits due to parts shortages and that sort of thing. Still, I don't imagine it would be too difficult to acquire any of these components.
- Raspberry Pi 4 Desktop Kit - 2GB
- Raspberry Pi Keyboard and Mouse
- 1080p Full-HD WebCam
- 32GB microSD Card With Raspberry Pi OS
- $200 CAD ($150 USD, €150 EUR)
There is another variation, the Raspberry Pi 400, where the board is actually incorporated into the keyboard. I didn't go that route, though, as I thought ultimately I'd end up with a project where I didn't want an integrated keyboard, but rather just the Raspberry Pi connected to a display of some sort. Here's what we're working with today.
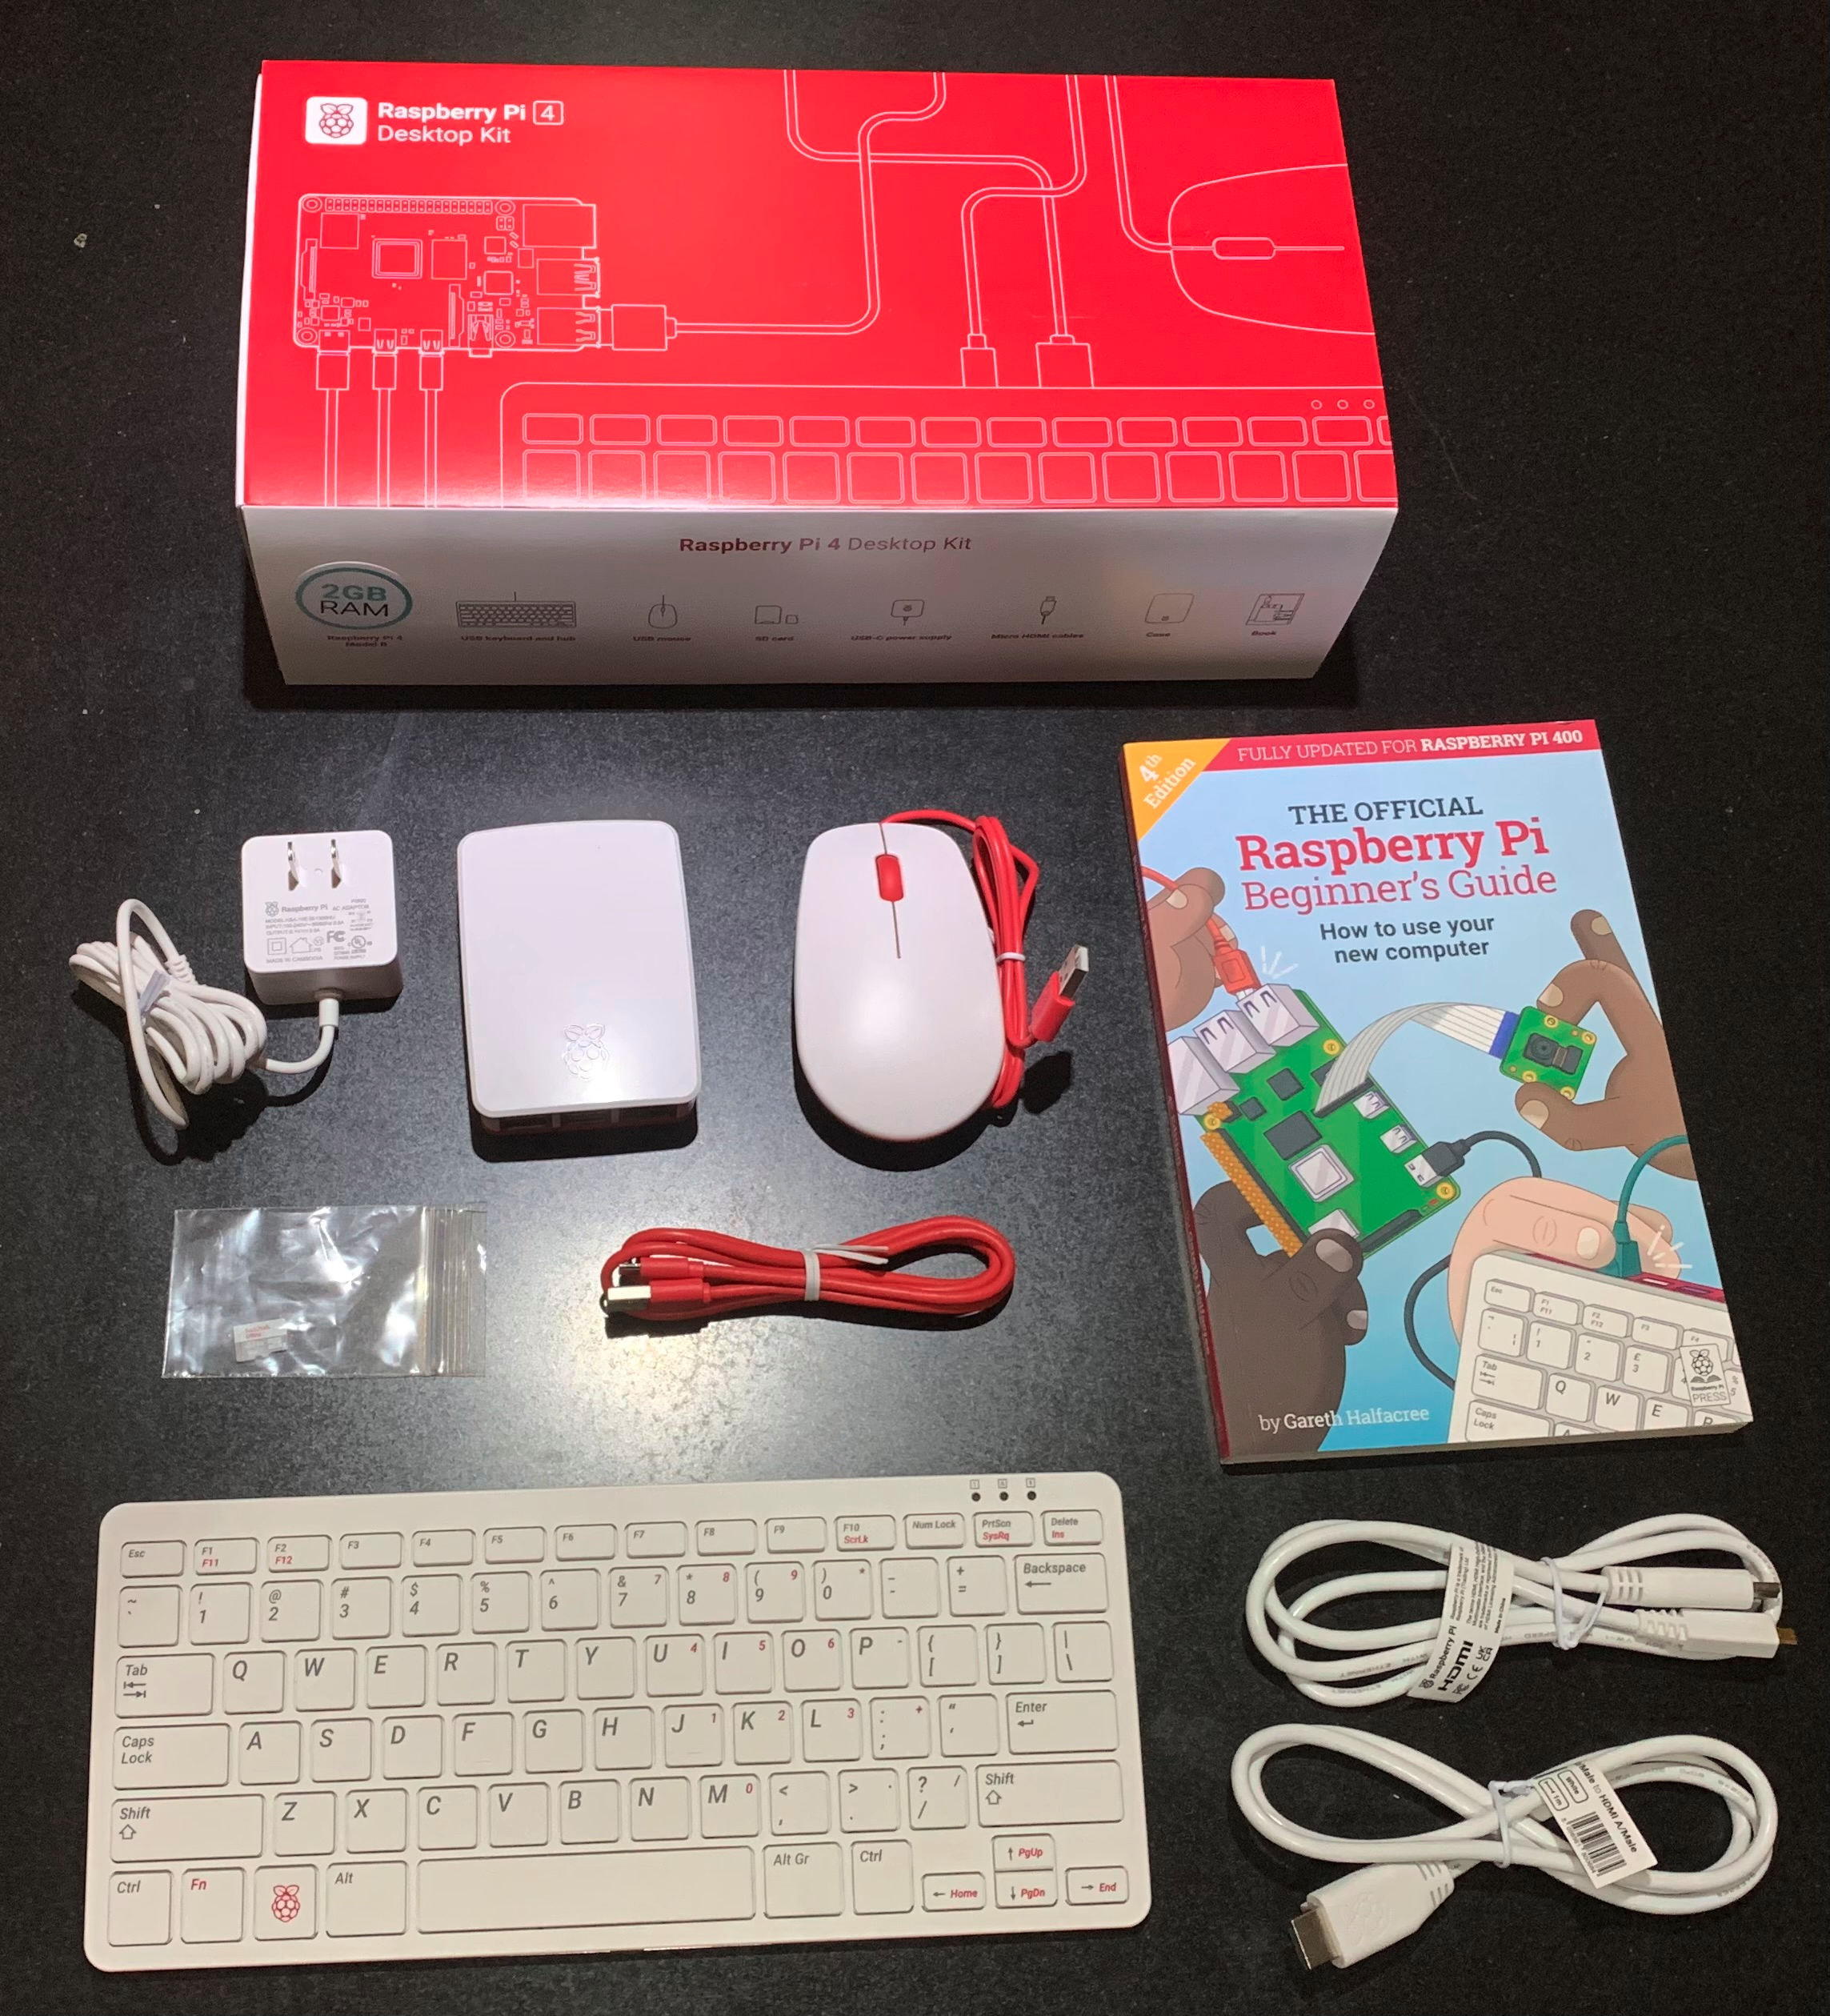
Raspberry Pi 4 Desktop Kit
From here, just a matter of plugging everything in. The microSD card goes into a slot on the bottom end of the Raspberry Pi. Everything else connects as expected, and there are even two HDMI cables included, as dual monitors are supported. The keyboard and mouse are both USB 2.0, and the keyboard has three USB ports available as well. A pretty nice package overall, with ports to spare.
Booting up for the first time, the usual questions appear about timezone, language preferences, WiFi information, username and password, and so on. It also automatically updates the operating system and applications, which takes around 30 minutes. Once completed, a reboot, and we're at the Raspberry Pi desktop.
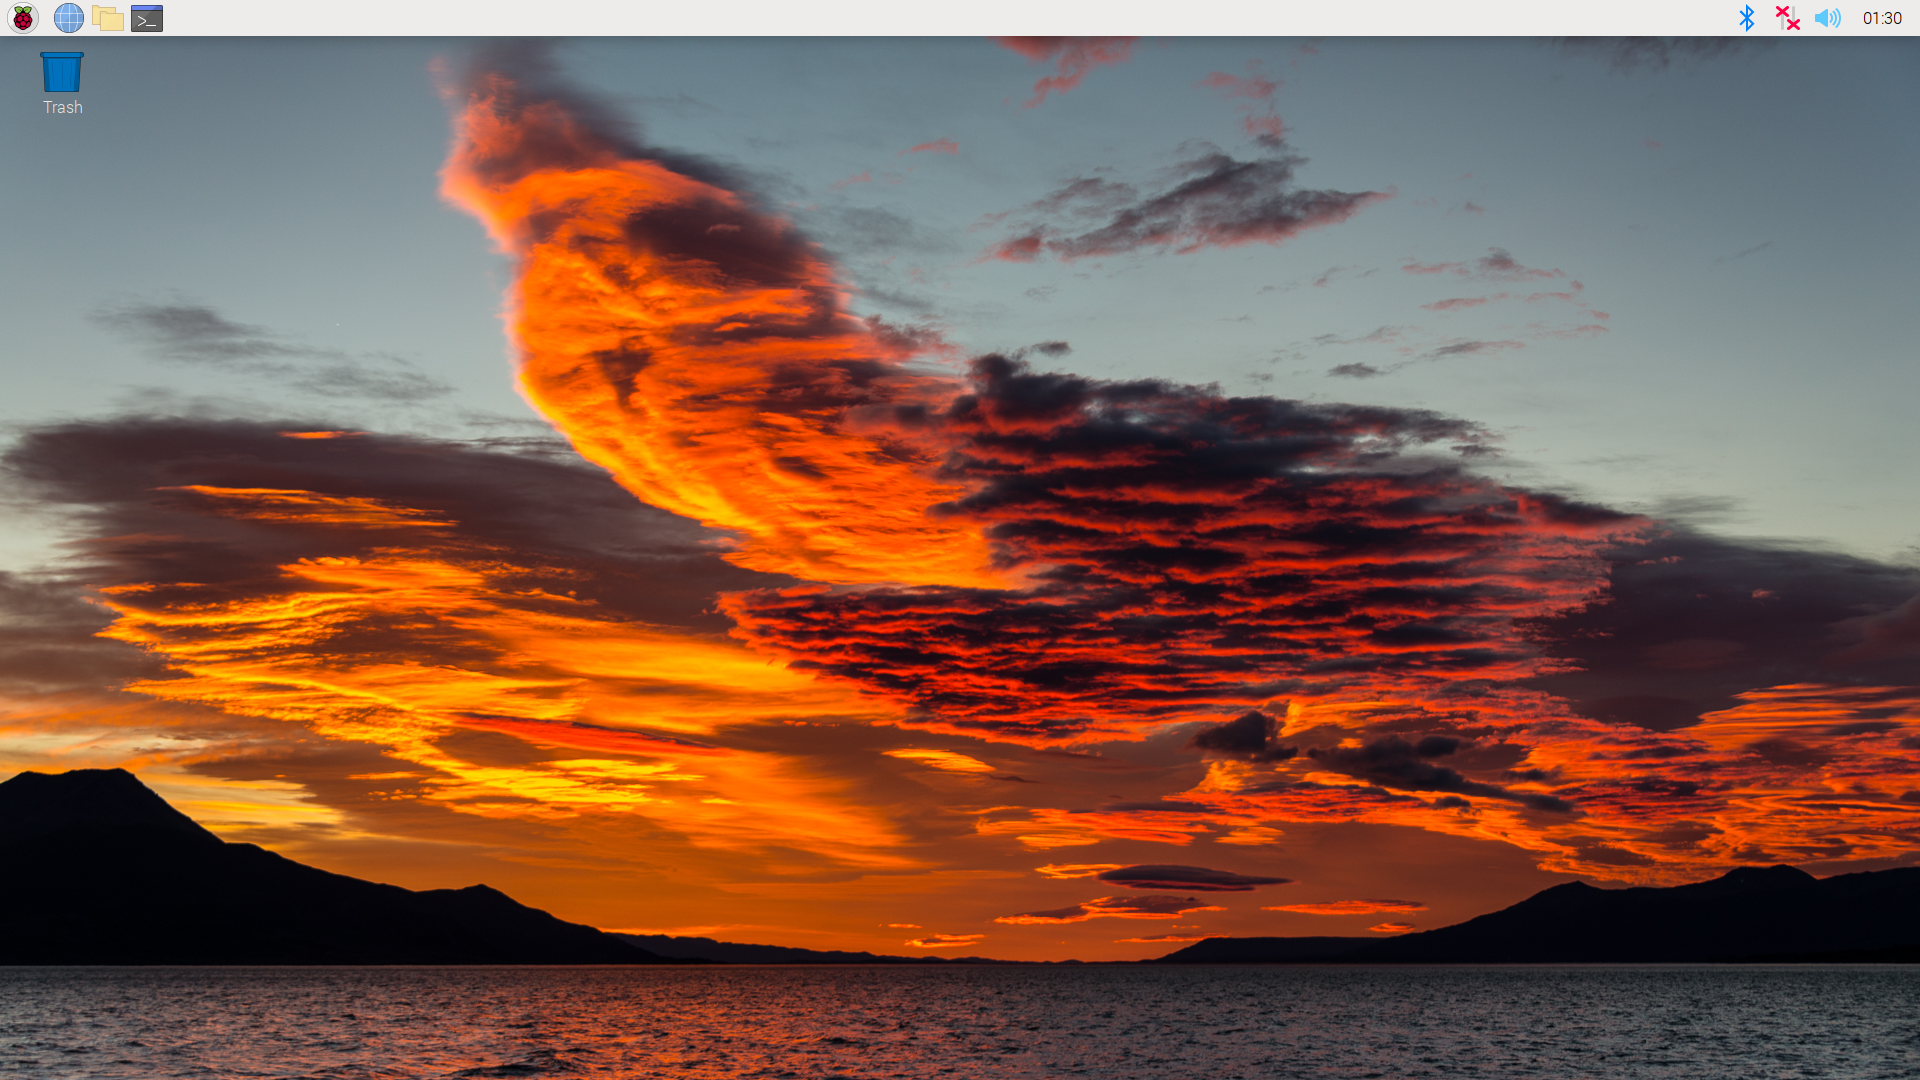
Raspberry Pi Default Desktop.
Desktop First Impressions.
My first impressions of the Raspberry Pi OS and its default desktop are that it is pretty good, much like you'd expect from any basic Linux desktop, for example. Not incredibly fancy or incredibly speedy or anything. A little on the utilitarian side, but things work pretty well, as one might expect.
- The WiFi information entered during setup didn't seem to get saved, so it had to be re-entered. No issues after that.
- Chromium seems to be the default browser. Works pretty well, but is not particularly speedy.
- uname -a reports:
Linux raspberrypi 5.15.61-v7l+ #1579 SMP Fri Aug 26 11:13:03 BST 2022 armv7l GNU/Linux - This is a 32-bit arm7 CPU with 2GB RAM, so expectations should be adjusted accordingly.
- No trouble accessing SMB shares on remote hosts without additional software.
nomachine installed for remote access to the Raspberry Pi, works just as it does elsewhere (nomachine is comparable to VNC).
As a pure desktop machine, it is likely that this might be a little on the anemic side but is workable all the
same. For example, loading up the current Actorious website (https://www.actorious.com)
that had started out as the demo project for the Tabulator miniseries, the page loads and works as expected. It
just takes a little longer than normal. Not sure why the top-right <div> didn't display, but as that is
used to display third-party marketing content, it is not something that is too worrisome at the moment.
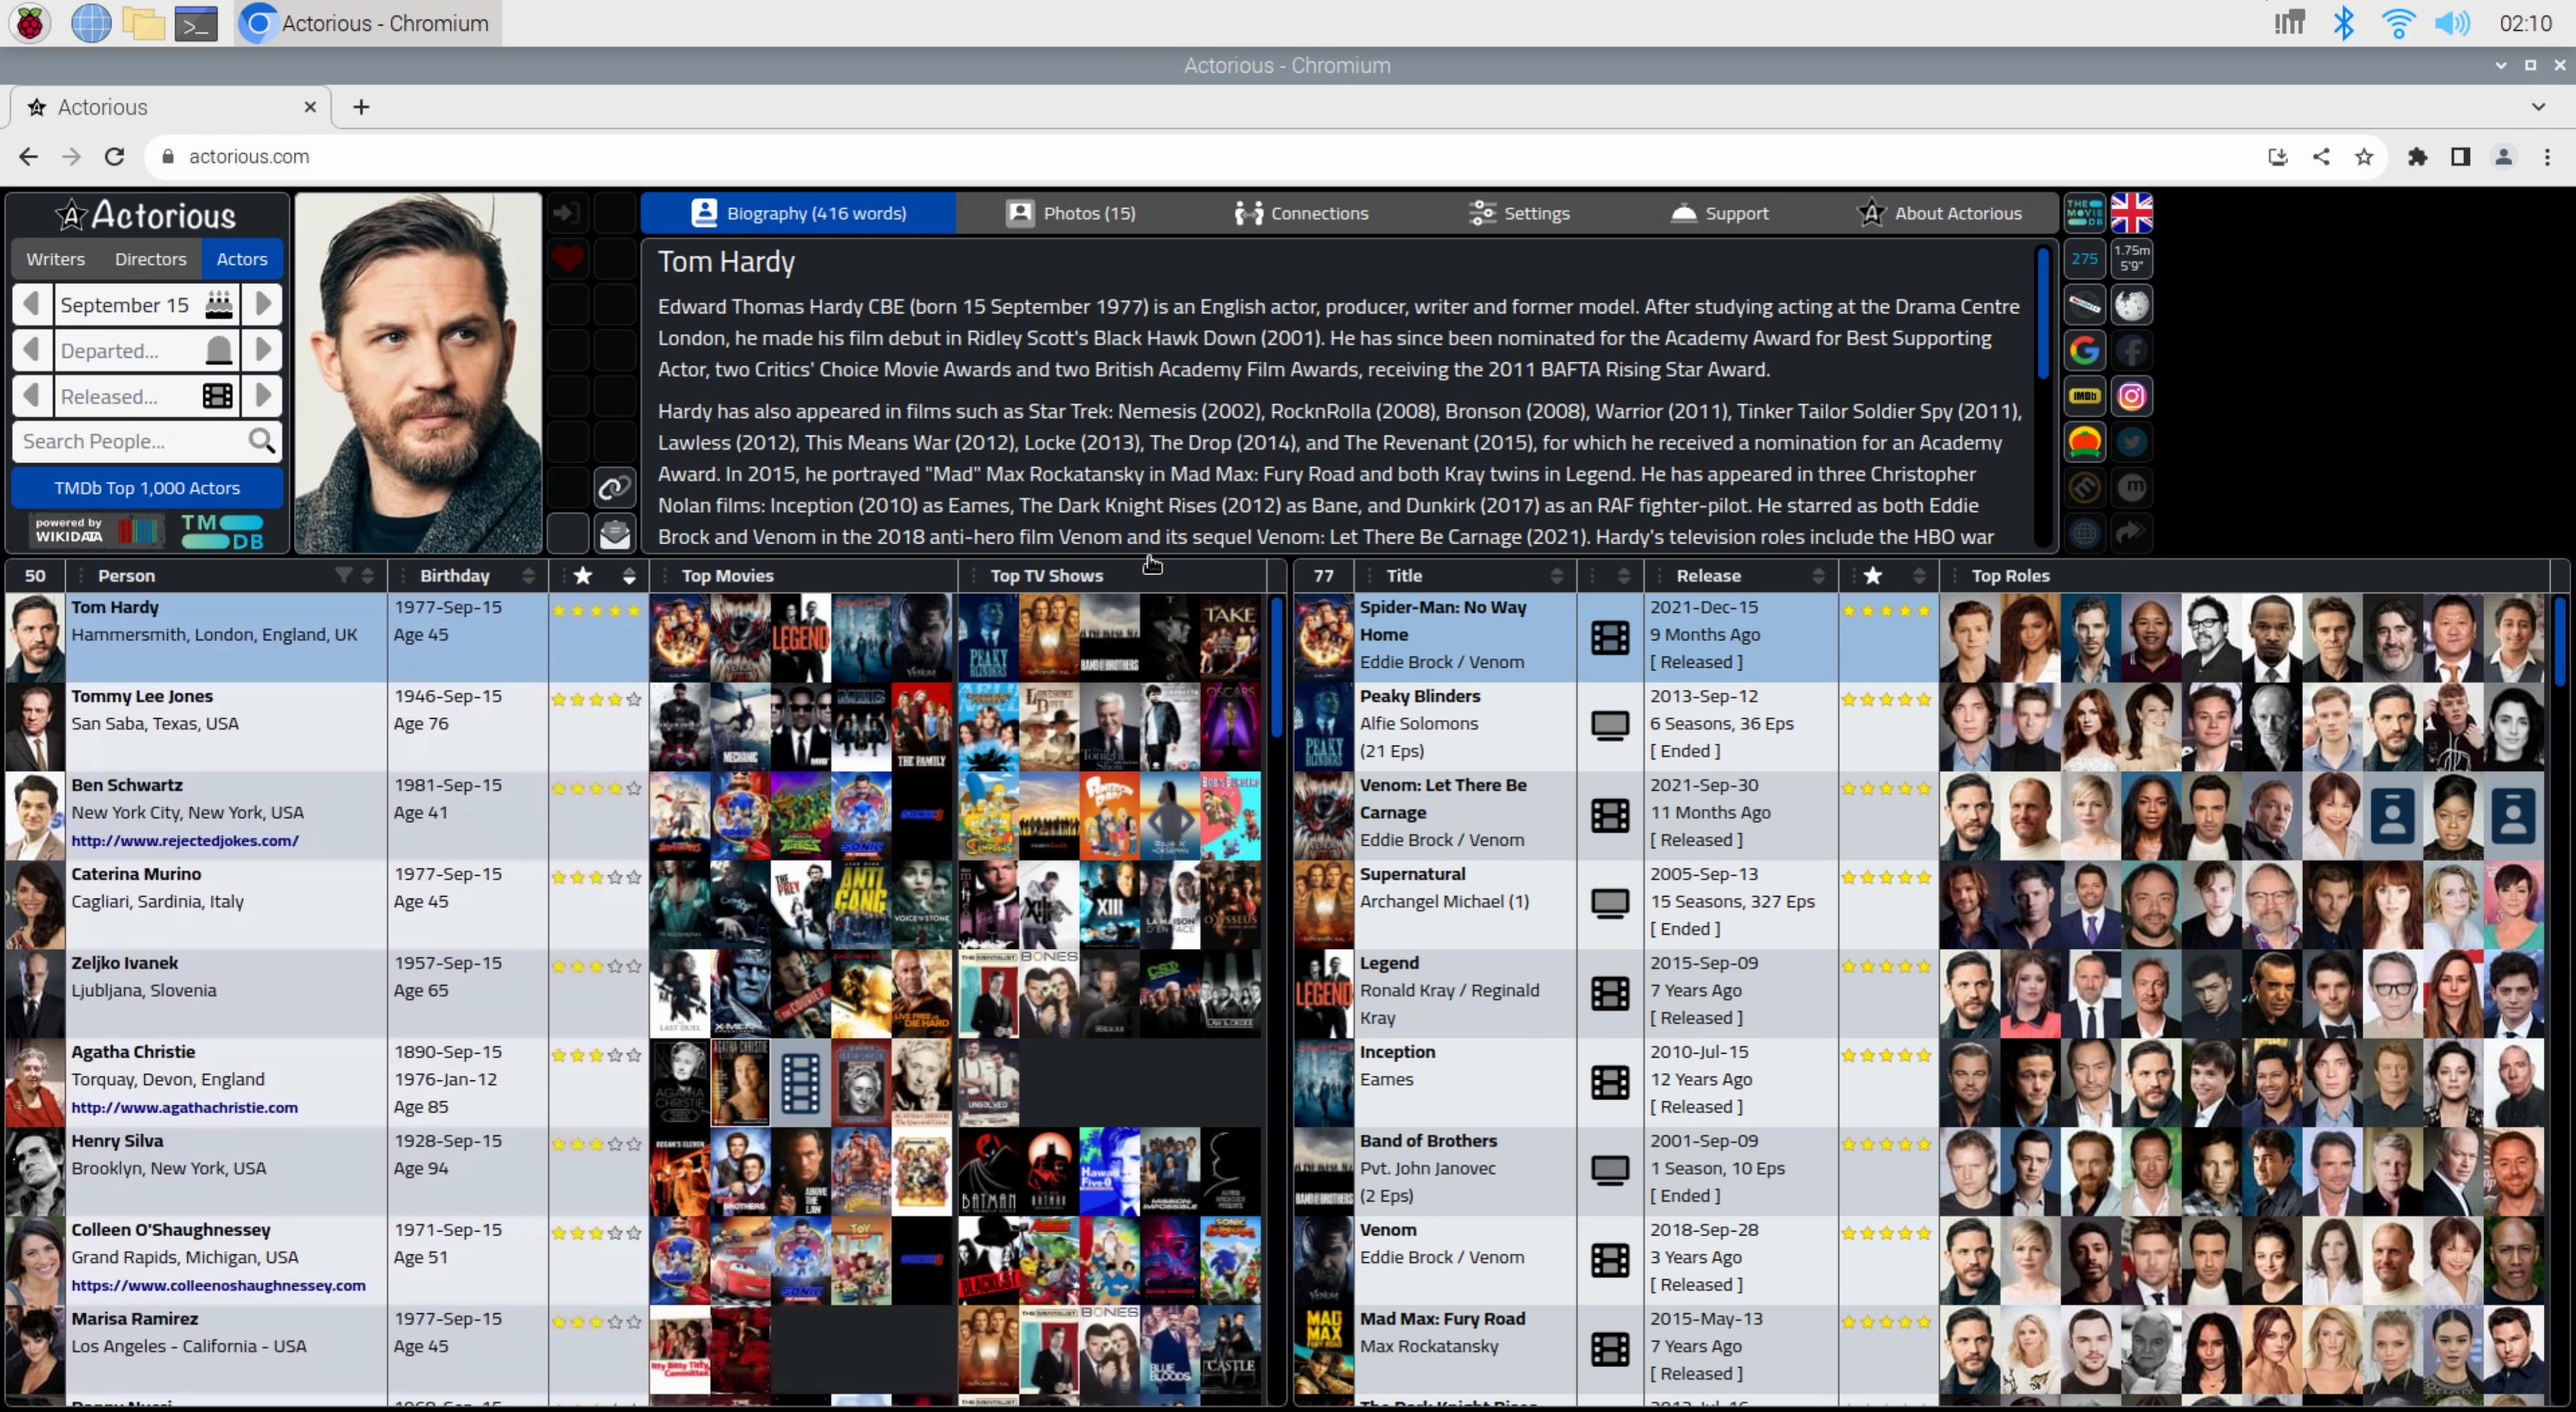
Actorious.com on Raspberry Pi.
The default installation includes many of the usual things a Linux desktop includes, like LibreOffice, VLC, and
so on. Screenshots can be captured just by hitting the PrtScn key, dropping PNG files in the home directory.
LXTerminal is the default terminal app, dropping you into a bash terminal where all the usual Linux commands are
available. Also, that speed of 20 MB/s compares to around 500 MB/s on a couple of regular desktops that I
tried. So not overly speedy there. One idea is to use external storage (maybe an SSD) or a faster
microSD card if this is a limiting factor in some way.
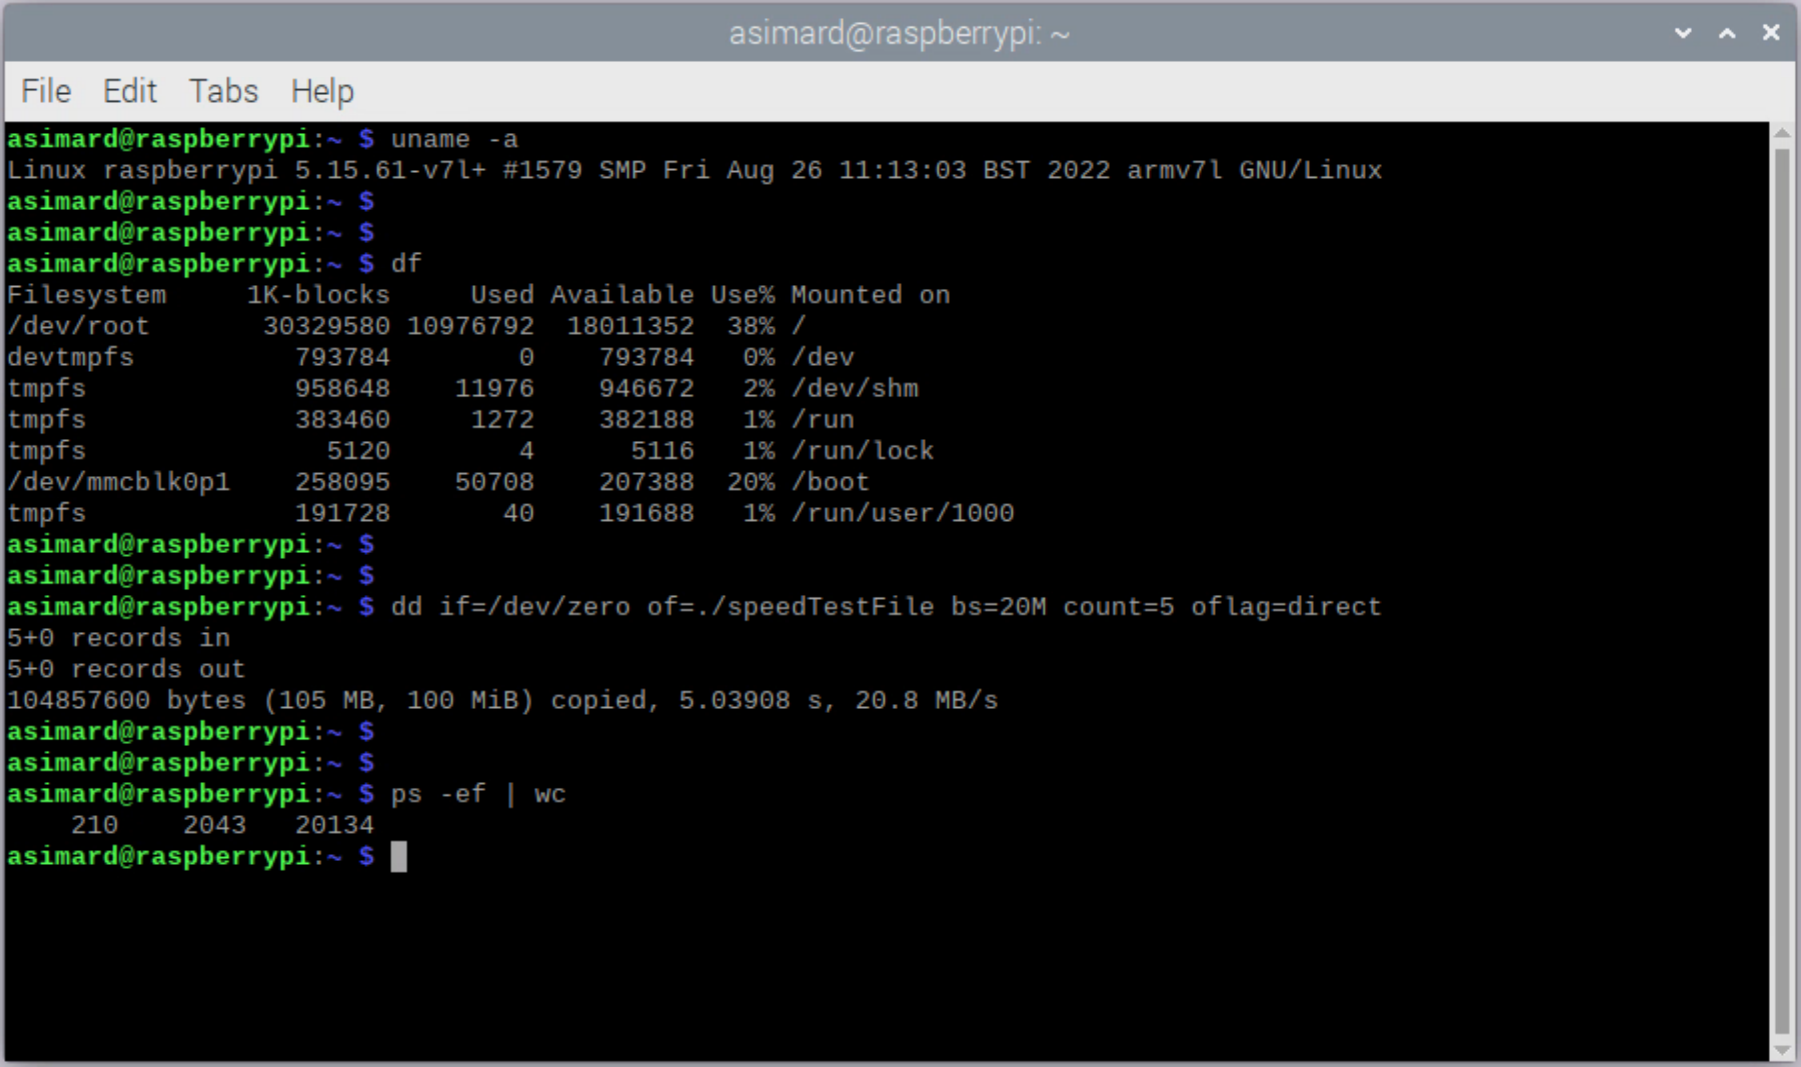
LXTerminal Running Linux Commands.
TMS WEB Core and Miletus.
After launching Delphi (on a regular Windows system) and loading up the Leaflet Miletus example project, producing a Raspberry Pi build is
just as easy as it was with any of the other platforms. Simply choose one of the Raspberry Pi options from the
Project Manager.
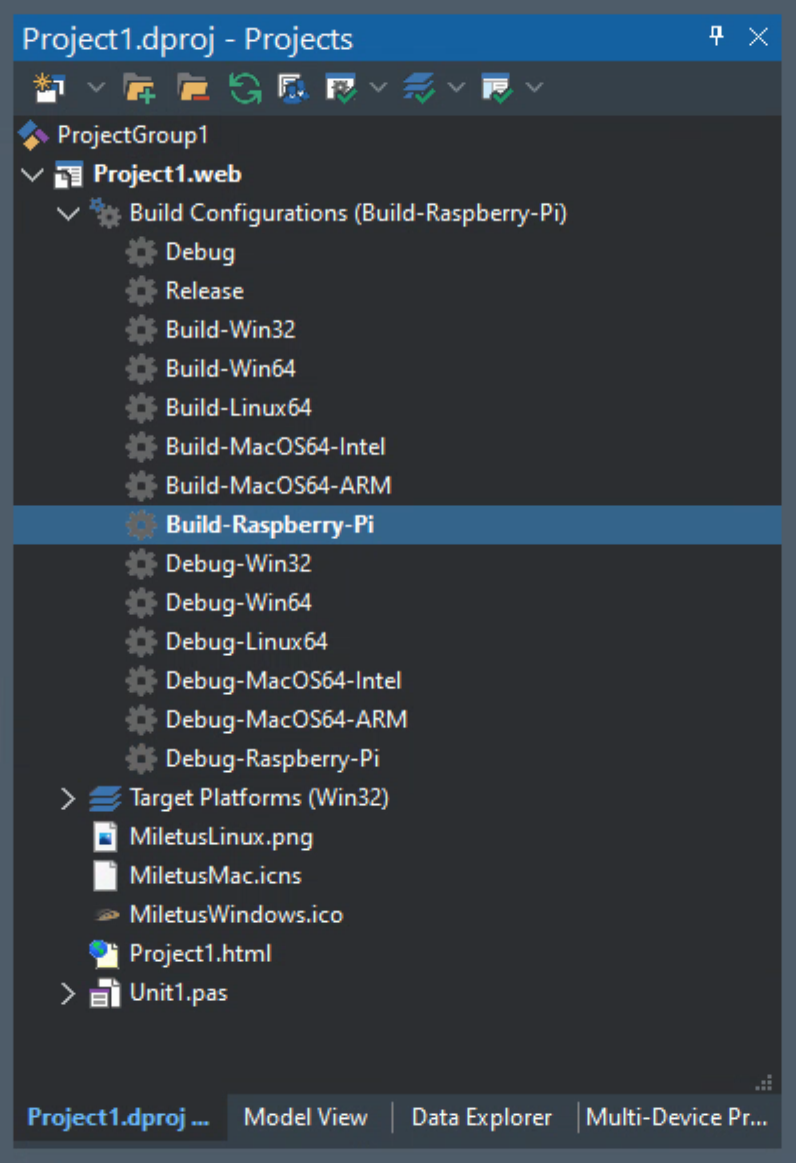
Changing Delphi's Build Configuration to Raspberry Pi.
On my development machine, the "Projects" folder is shared, so accessing it from the Raspberry Pi system is as
easy as connecting to the share using the smb:// protocol. Then, navigating to the folder with the Raspberry Pi
build, I can then see the following files. These are then copied to the Raspberry Pi desktop (mostly for
convenience). The permissions on Project1 need to be changed so that it is executable.
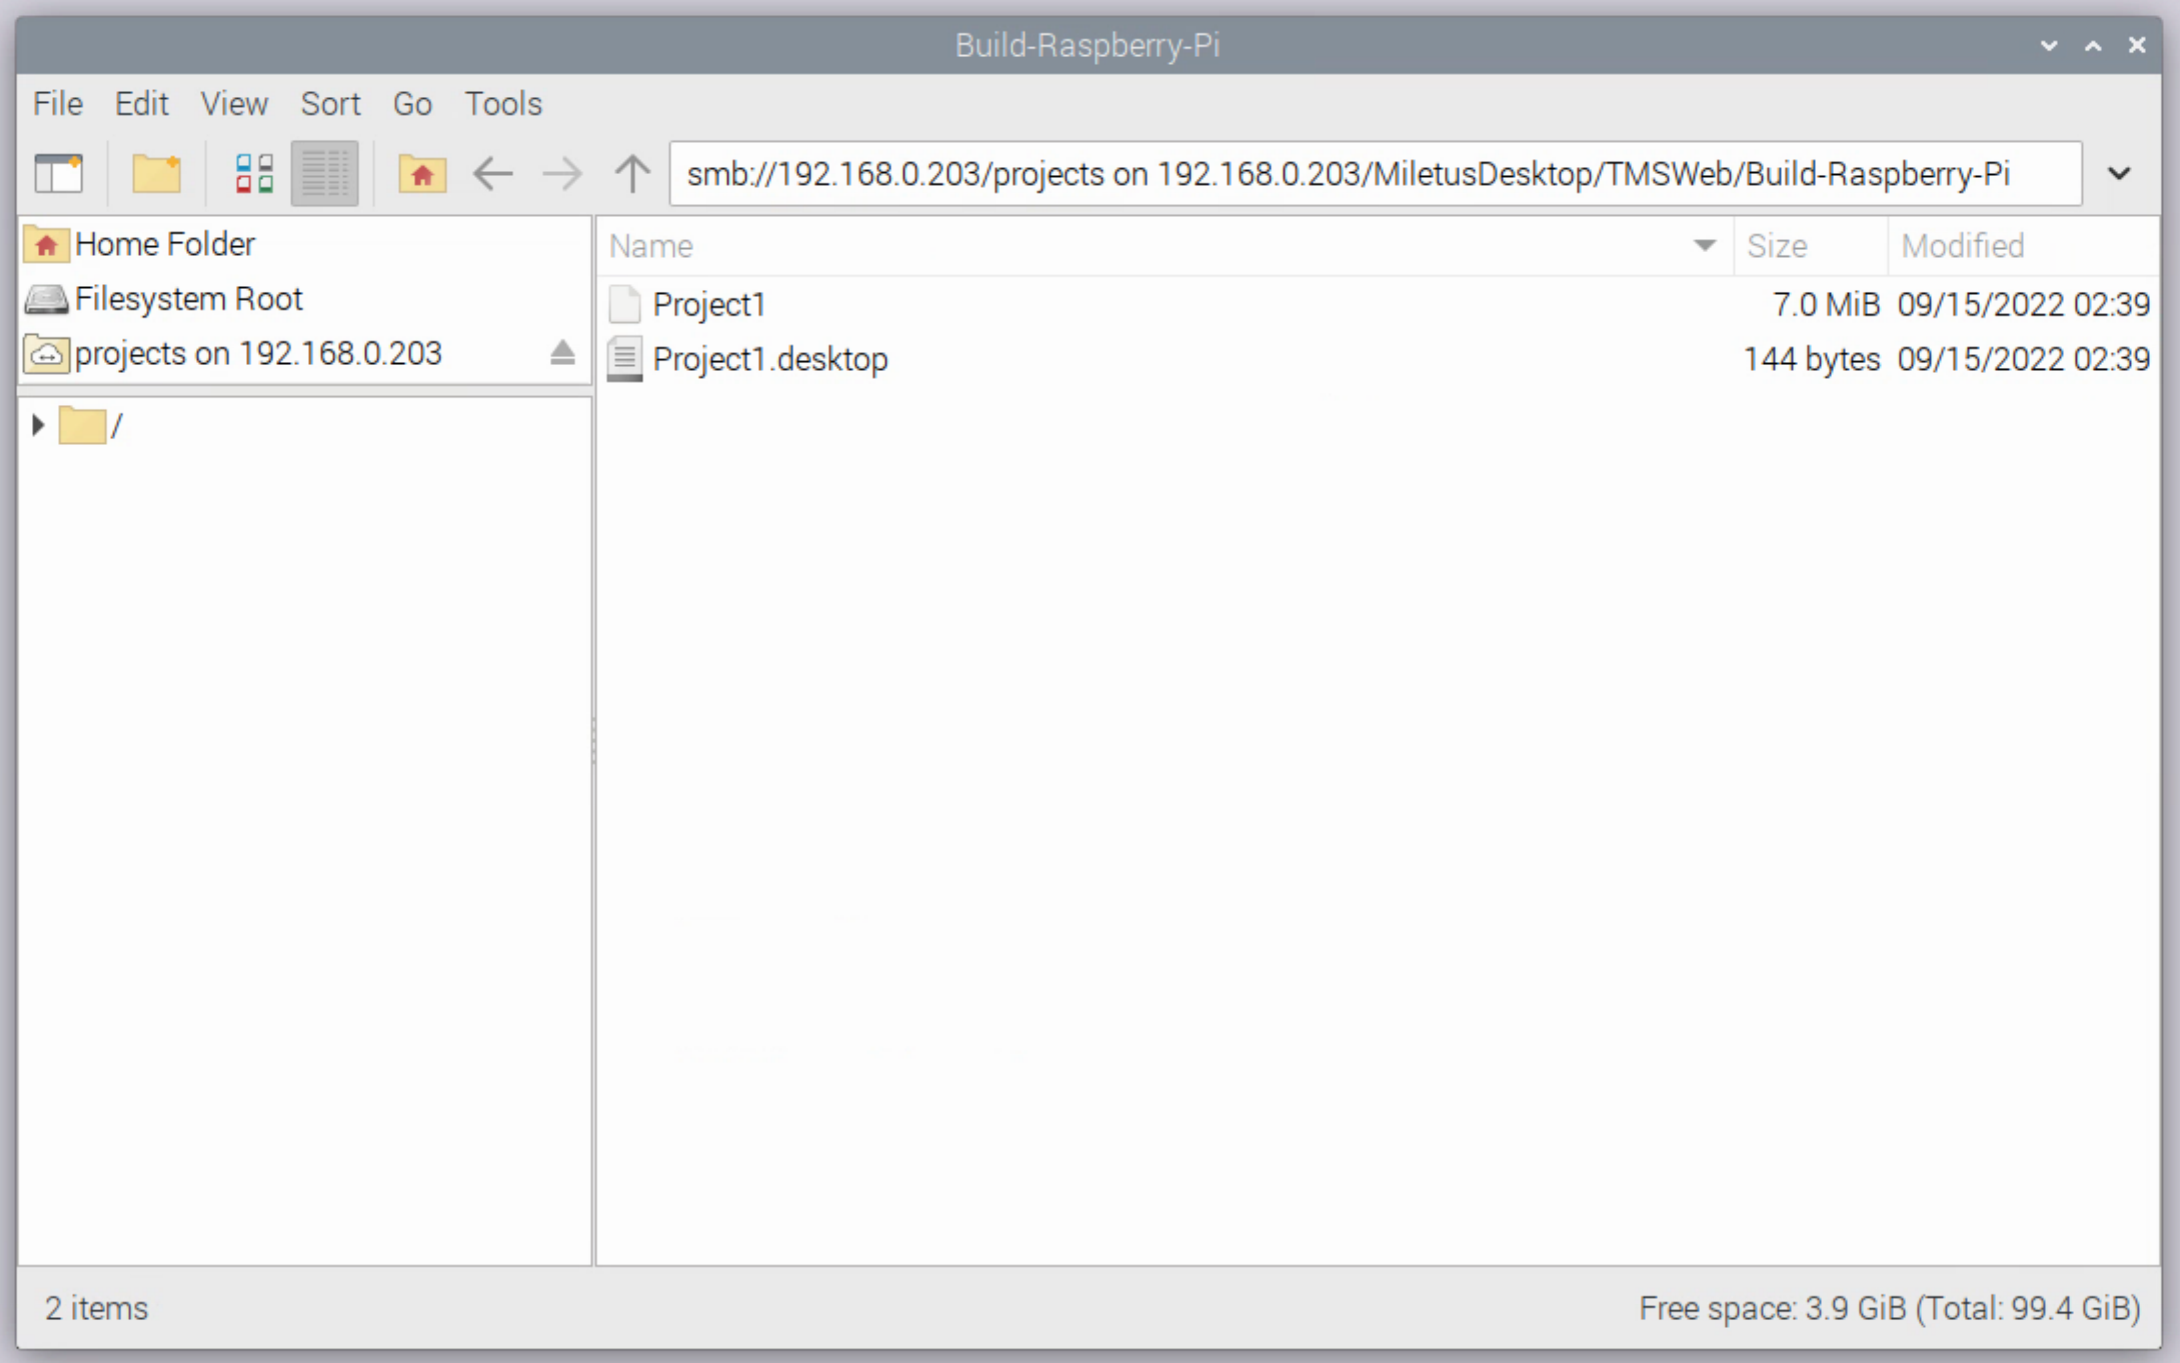
Raspberry Pi Viewing Windows Shared Projects Folder.
Before launching (and as per the TMS WEB Core documentation) the webkit support libraries need to be installed.
sudo apt install libwebkit2gtk-4.0-dev
sudo apt install packagekit-gtk3-module
Then, the application can be launched either from the terminal or from the desktop. Everything works just as it did on the other Miletus platforms tested.
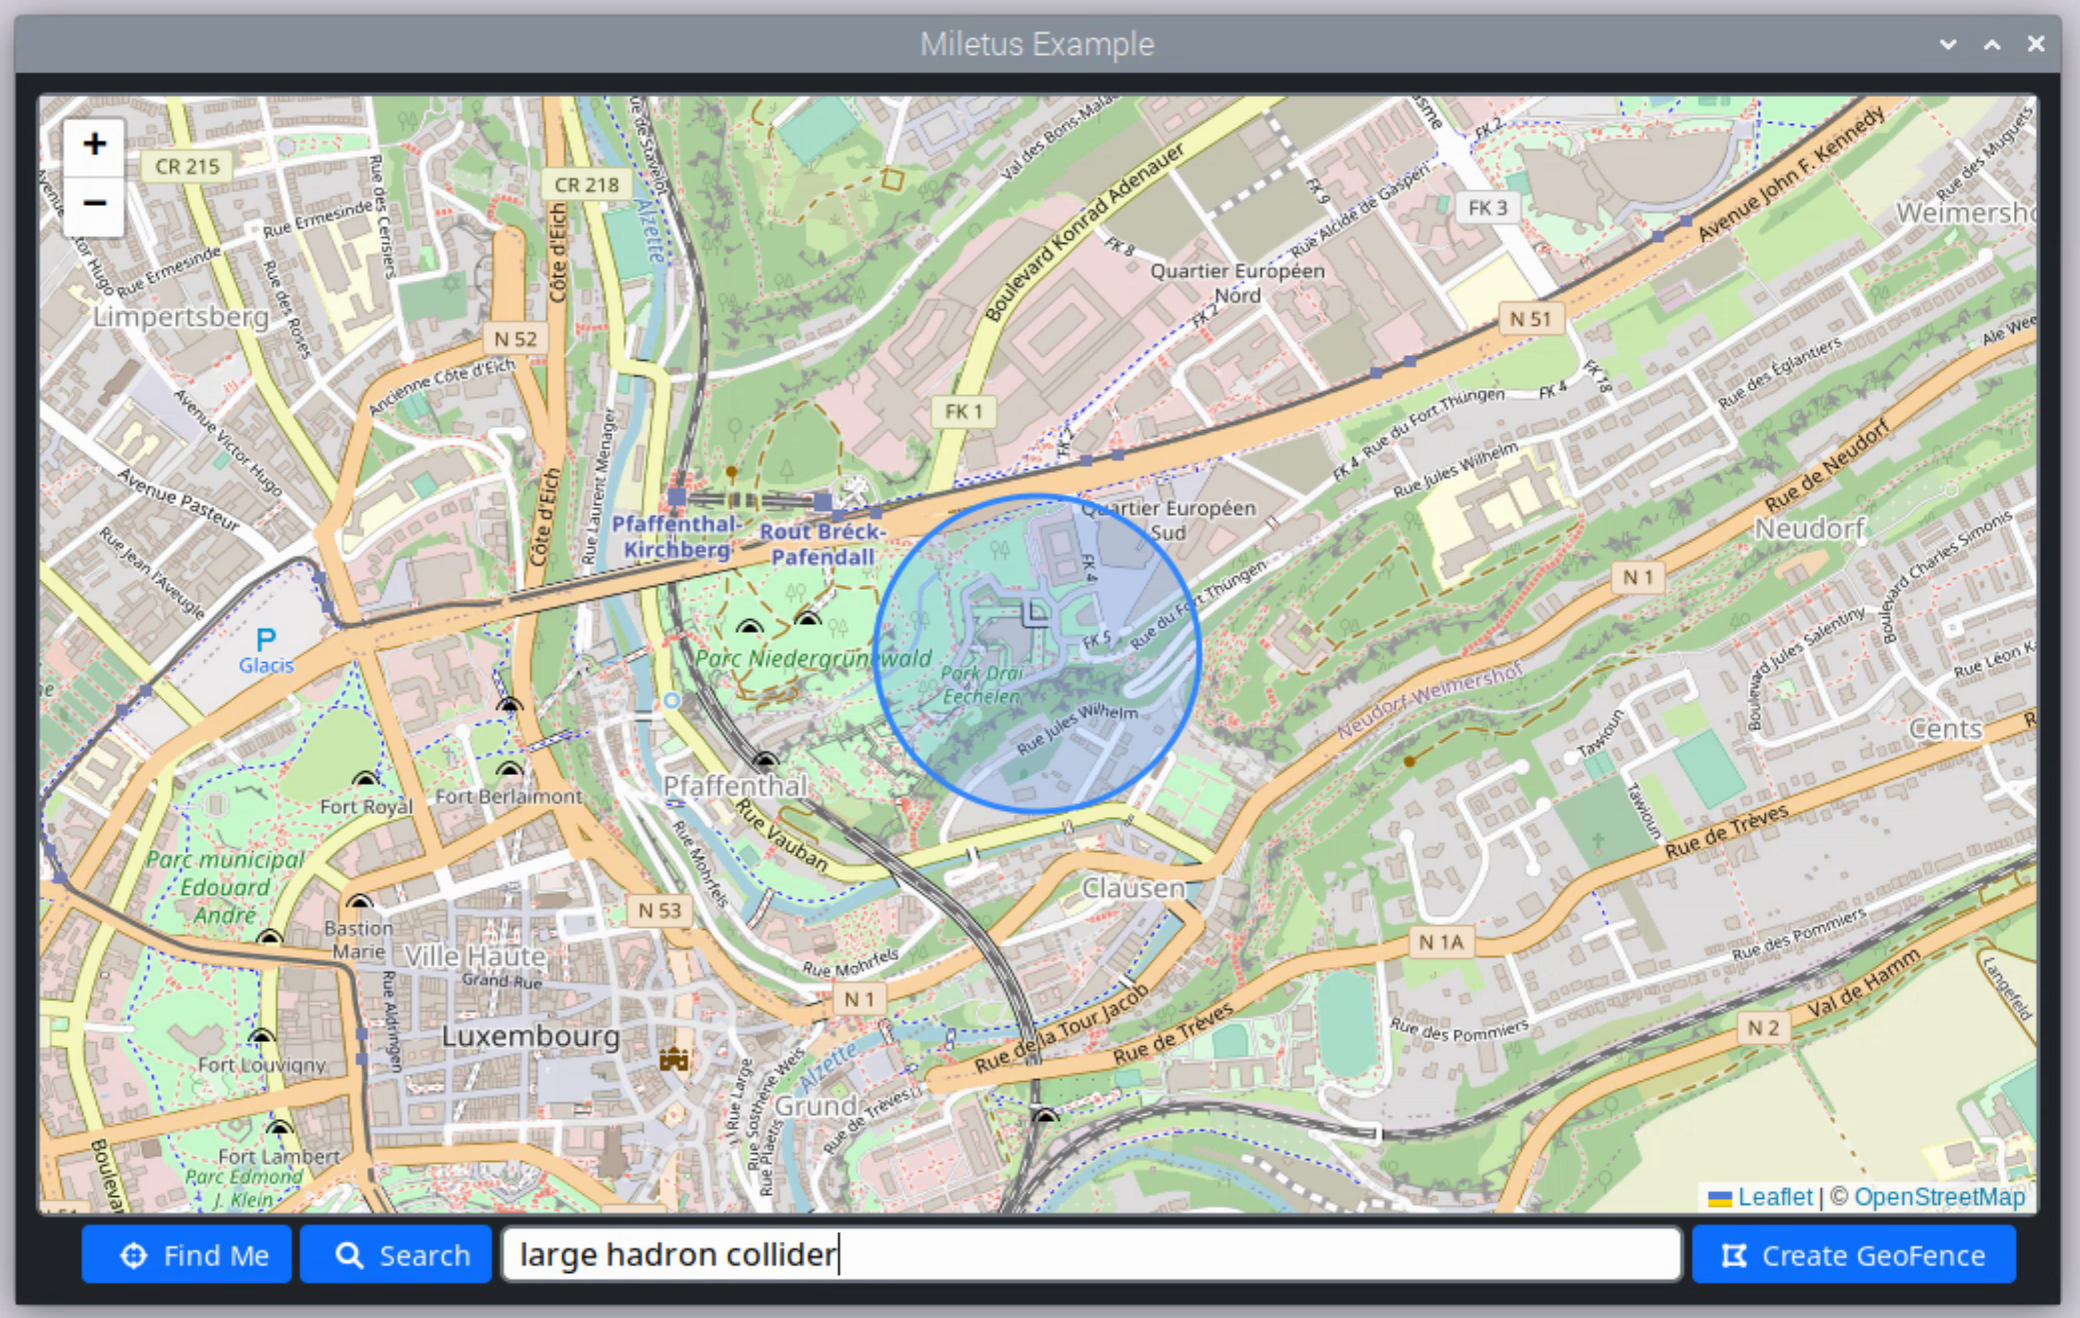
Leaflet Miletus Example Project Running on Raspberry Pi.
Next Steps.
That's all that I wanted to accomplish in this post - getting a Raspberry Pi up and running out of the box, and testing our Miletus example. Which all went pretty well. But this is just the opening introduction to Raspberry Pi. There are a lot of other topics to explore. Please suggest a topic if I've overlooked anything here.
- Getting data from Raspberry Pi Sensors. For example, I've got a Sense Hat (B) here I'm anxious to try out.
- Work with a secondary display. I also picked up a 7.9" 1280x400 touch display to play around with.
- Getting data from the Raspberry Pi webcam.
- See how far we can get running Visual Studio Code on a Raspberry Pi.
- Try alternate storage devices to see if we can speed things up a bit.
Ultimately, Raspberry Pi provides an inexpensive way to deploy a TMS WEB Core application, particularly if you're interested in creating some kind of kiosk-type deployment. While not particularly fast compared to a traditional desktop, it is still plenty fast enough for casual use. And, with the Miletus framework, it should be easy to gather data from the many different sensors and other devices that can connect to a Raspberry Pi, all within the same TMS WEB Core project.
Follow Andrew on 𝕏 at @WebCoreAndMore or join our 𝕏 Web Core and More Community.
Andrew Simard

This blog post has received 2 comments.
2. Sunday, October 9, 2022 at 12:41:00 AM
You are most welcome. Please be sure to post any questions, comments or requests! Been rather quiet around these parts lately.
Andrew Simard
All Blog Posts | Next Post | Previous Post
DERNEGI CANSUYU